WIP - Rock Sculpt, Low Poly & UV Map
In continuation of my Game Asset creation course on CGCookie, I've done a few more steps (more than I anticipated) towards creating a 3D asset. In the coming paragraphs I'll showcase a bit of my process, from drawing concept art (see previous article) through to modelling a prototype, sculpting, retopology, low-poly build, UV mapping (+ baking) and rendering (the image you see here) as preparation for the upcoming texture painting course. If any of this sounds like your cup of tea, stick around!
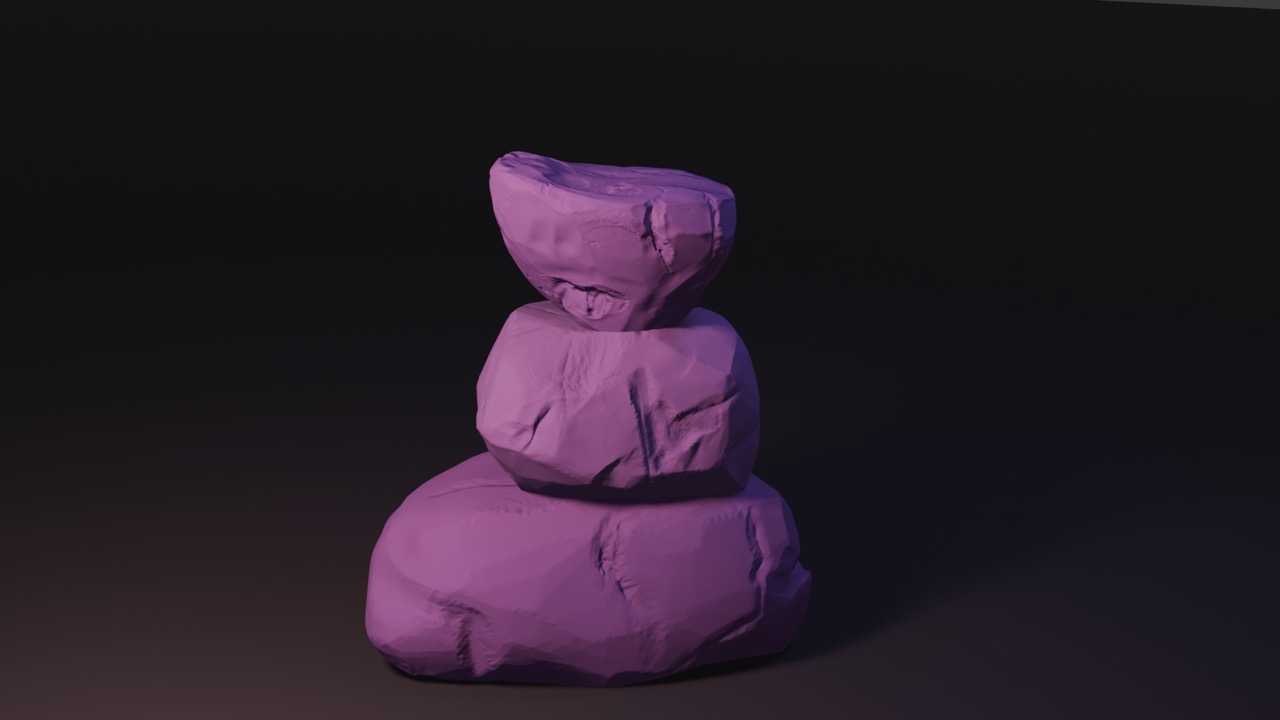
This is not exactly a tutorial, so if you stumbled on this article with the expectation of being guided through which buttons to click, I'm sorry. This is more of an overview of how I went from a few drawings to my current 3D model. It acts both as a reminder to myself of what I have done and as a way to consolidate my knowledge on the topic. If you also take away something useful from it, it's a win-win(-win?).
Steps
Modelling this asset has a few very well defined steps, each with their own purpose:
-
Prototype model (low poly, we just get the right shape)
-
Detailed sculpting (high-poly, we add lots of details and make it look realistic)
-
Retopology (we take the high-poly sculpt and make it low-poly again)
-
UV mapping (we take the mesh and 'unwrap' it, from a 3D space coordinate into a 2D space)
-
Baking the normals (note: not a type of biscuit (in non-technical terms, we 'bake' aka apply the look of the detailed sculpt into the retopo, so detailed look but low-poly))
-
(Optional) Render a cool image with nice lighting to have as your post banner.
Prototype and sculpting
In order to have something to sculpt, I began by making a rough prototype mesh in Blender using the rock turnaround I drew previously. By using drawings of all orientations (front, back, left, and right) I was able to build an approximate model of the rocks, shape and size wise. This mesh would provide the necessary support to sculpt a detailed version of the rocks in the next few steps. What is a mesh you might ask? It's a series of polygons stuck together (note this is the most simplistic, watered down definition). The more polygons, the more detailed and 'accurate' the mesh can be. The less polygons, the simpler the geometry.
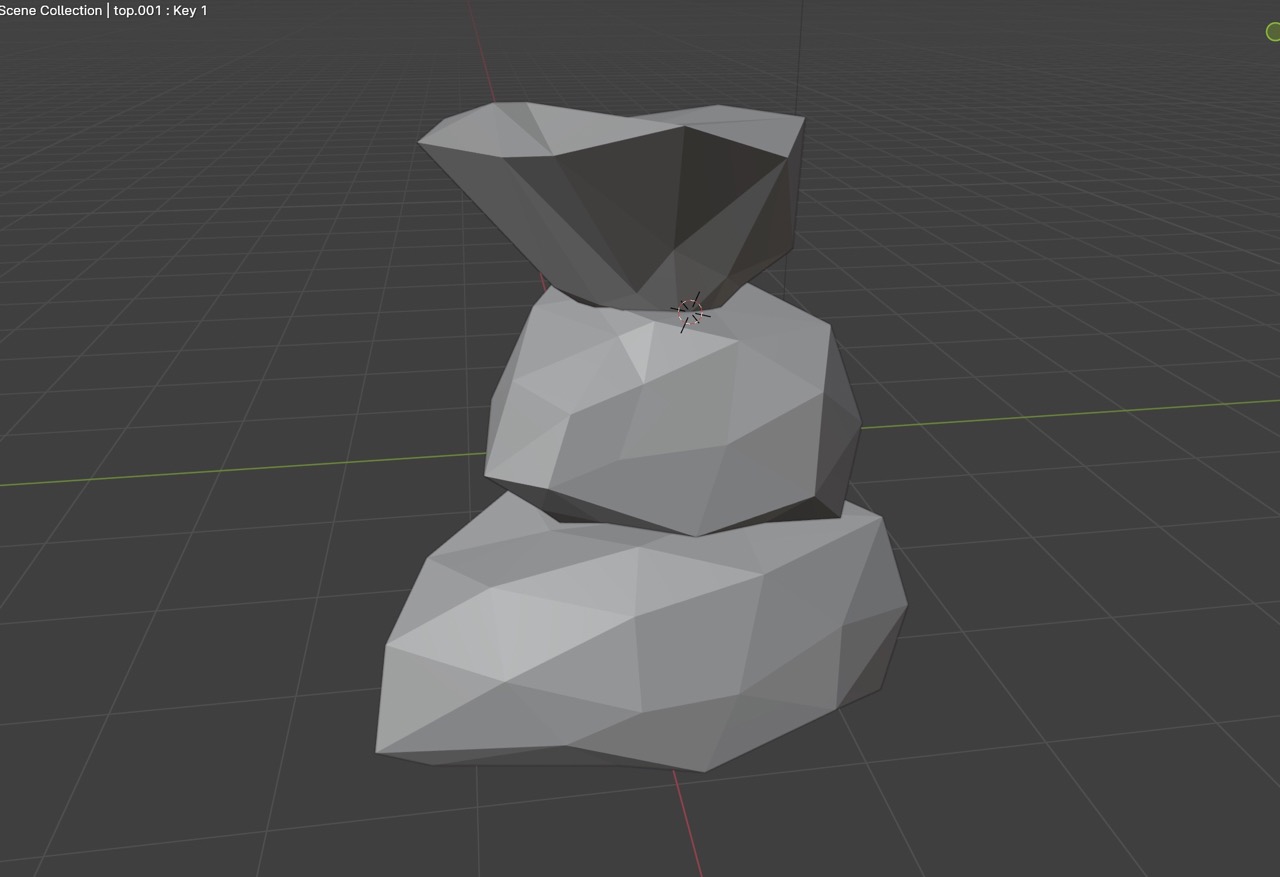
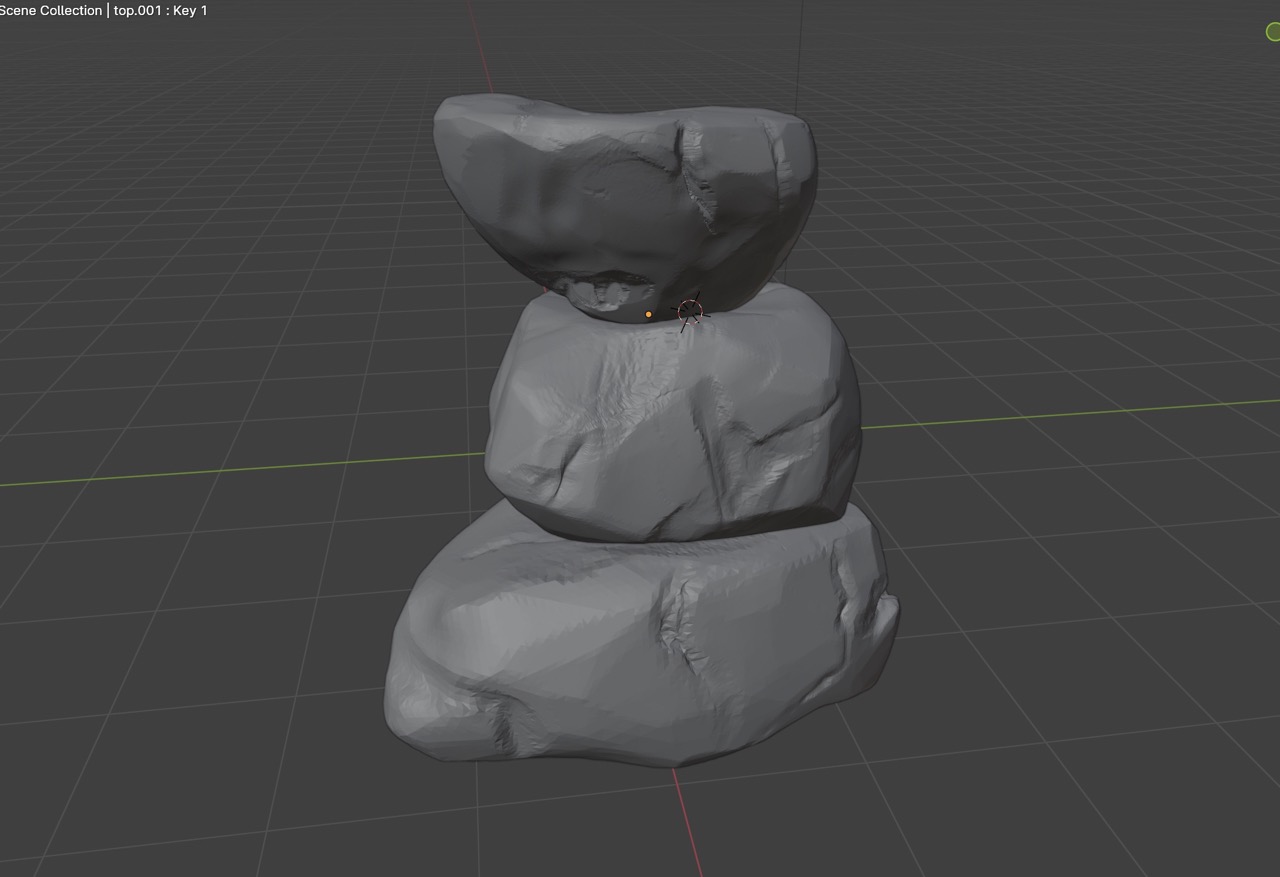
As you can see from this side-by-side, the first mesh made of only several polygons was used to build a highly-detailed sculpt. Before beginning the actual sculpting, I subdivided the mesh which offered a higher-poly base to work with.
Blender has very nice sculpting tools which made the process very easy and enjoyable. The program uses Dynamic Topology which ensures that the mesh is subdivided as you use brushes or tools to alter it. This means the brush/tool will add or remove geometry as it needs to get the look you want. The tutorial I followed used a modified carving tool to "shave off" the model in order to achieve that boulder-like straight edge. I found it nice for large areas, but I also used my own tools and brushes to carve out smaller details.
Retopology
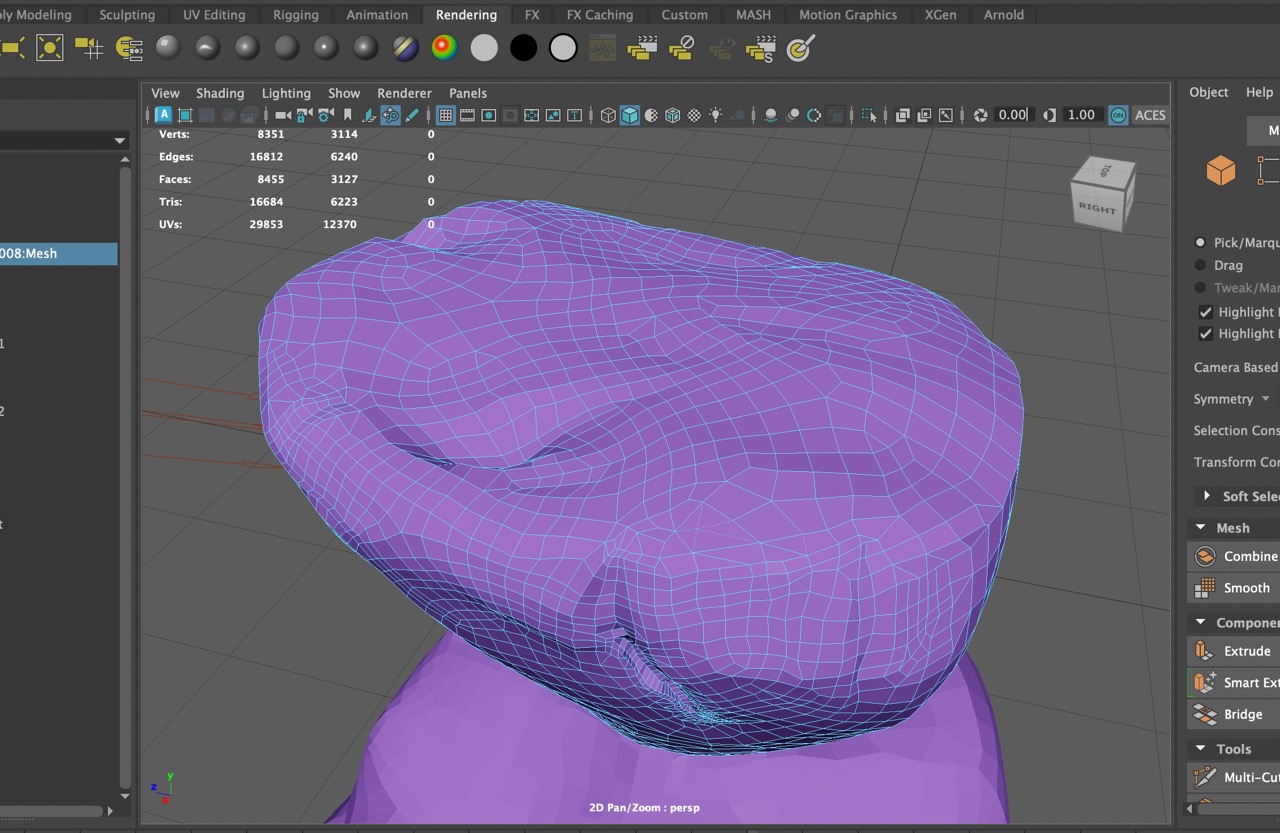
The ultimate goal of modelling an asset like this is to be able to showcase lots of detail whilst keeping the geometry as simple as possible. Less polygons means smaller filesize and less memory use in the context of a game asset (or really any digital asset for that matter). This is where retopology comes in to save the day: in this step I took the highly-detailed, high-poly mesh and I redrew the polygons.
I moved to Maya for this because the Quad Draw tool in their modelling toolkit is incredibly efficient. You can see in these images the reduced number of polygons.
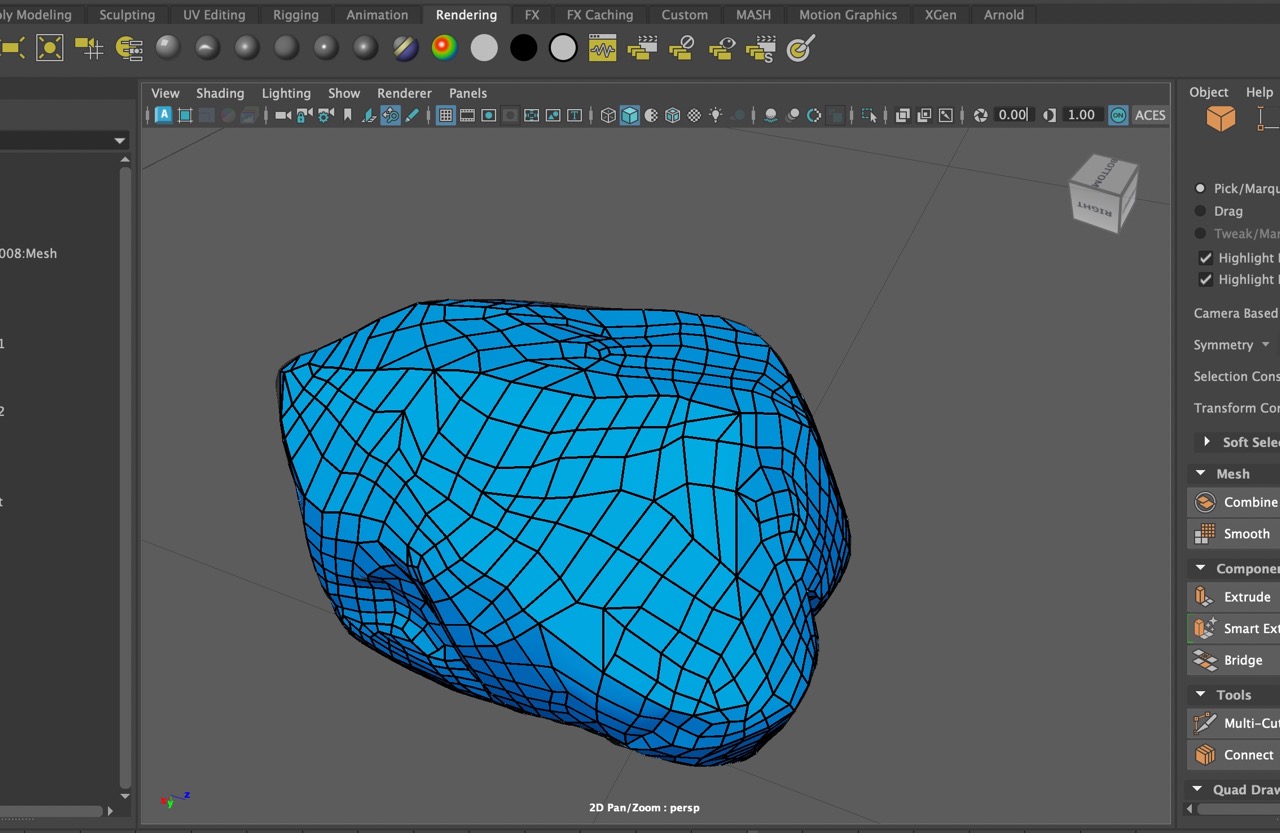
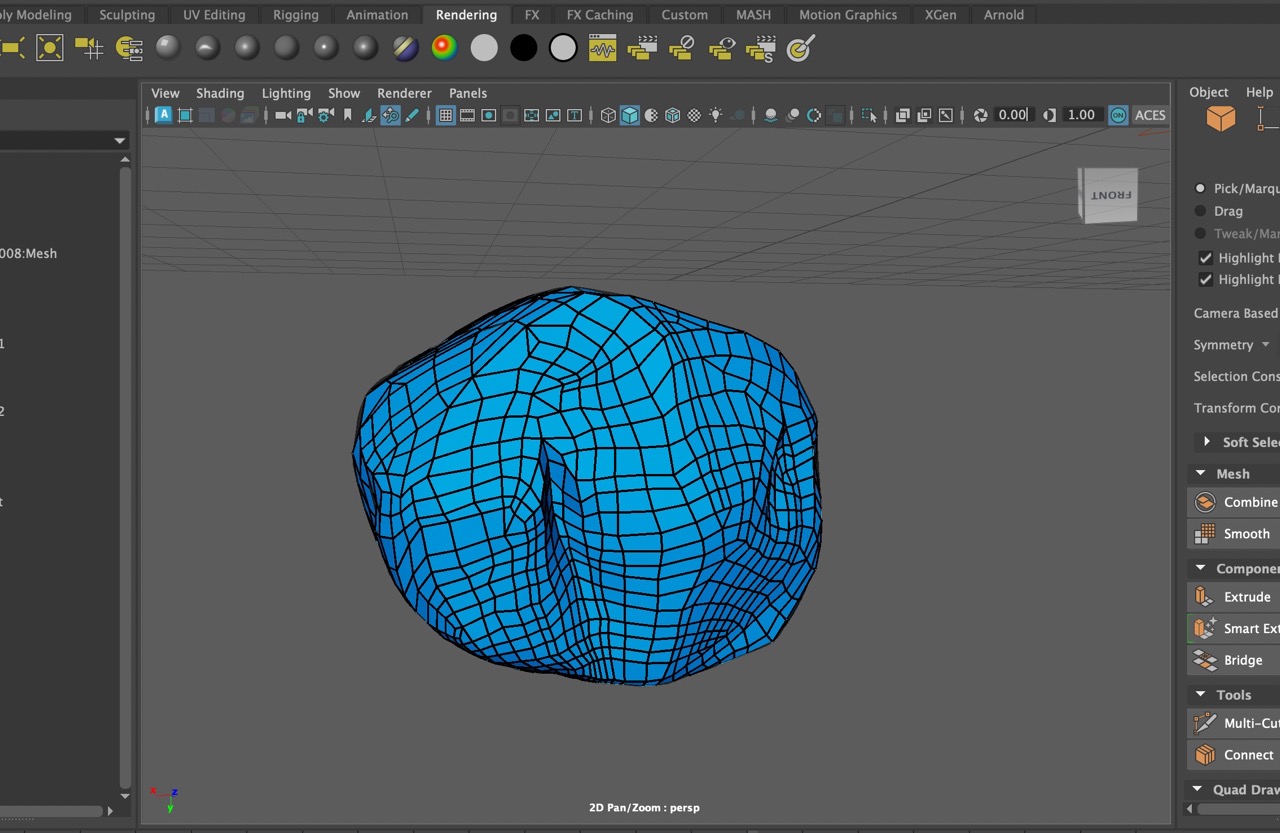
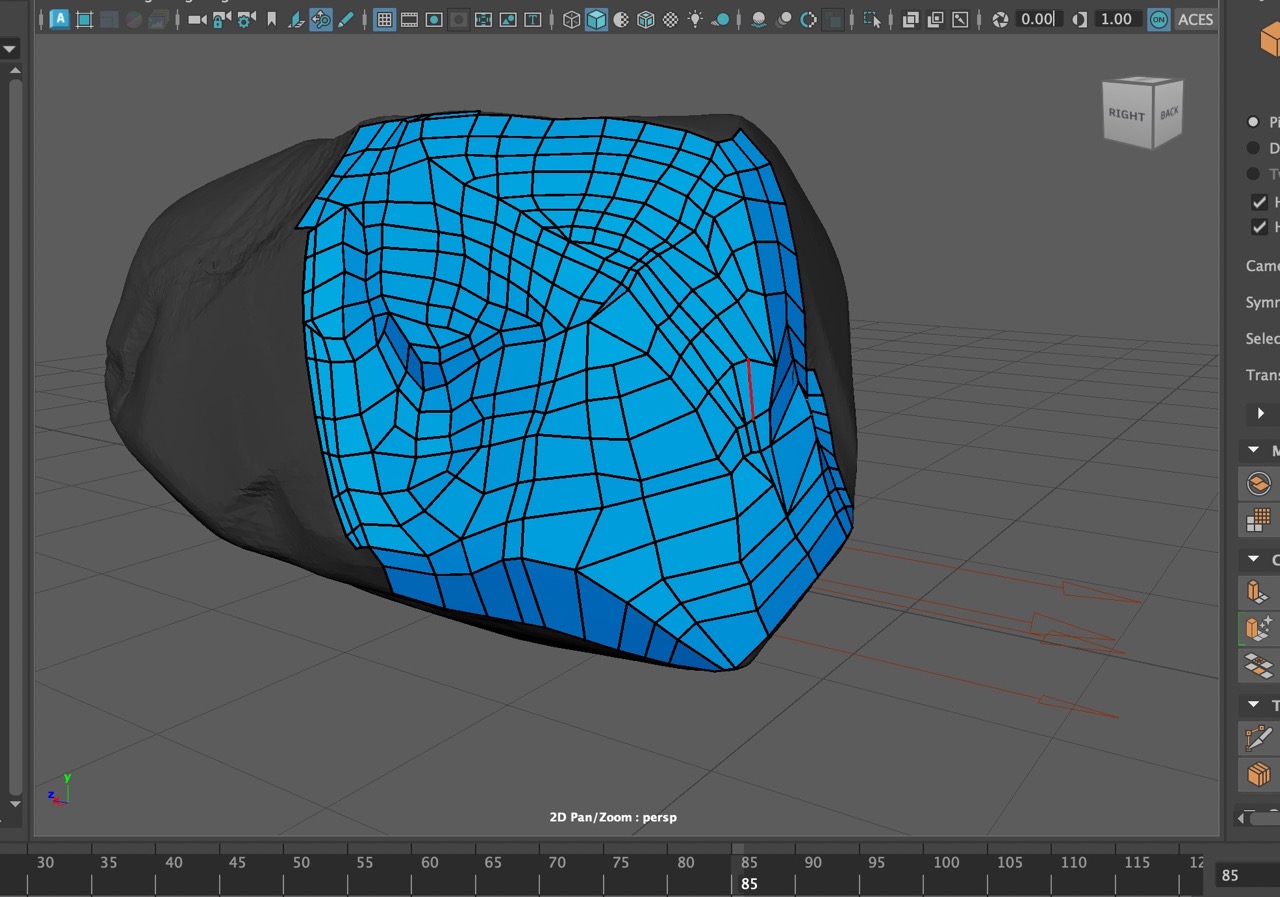
By the third rock, I learnt a lot of things about efficient retopology. Some things to keep in mind:
-
Extruding multiple edges can be super efficient, but for a very organic shape (like this rock) it might introduce unwanted or skewed geometry;
-
Ensure the geometry is flowing nicely, this will make it easier to unwrap and give it a clean look;
-
Fix non-manifold geometry, faces with too many edges and holes before starting on the UVs. Maya has a good Cleanup tool (and it was my best friend when doing this)
-
Think about where you'll be cutting the seams for the UV map (will explain more about this later) – a bit of foresight goes a long way.
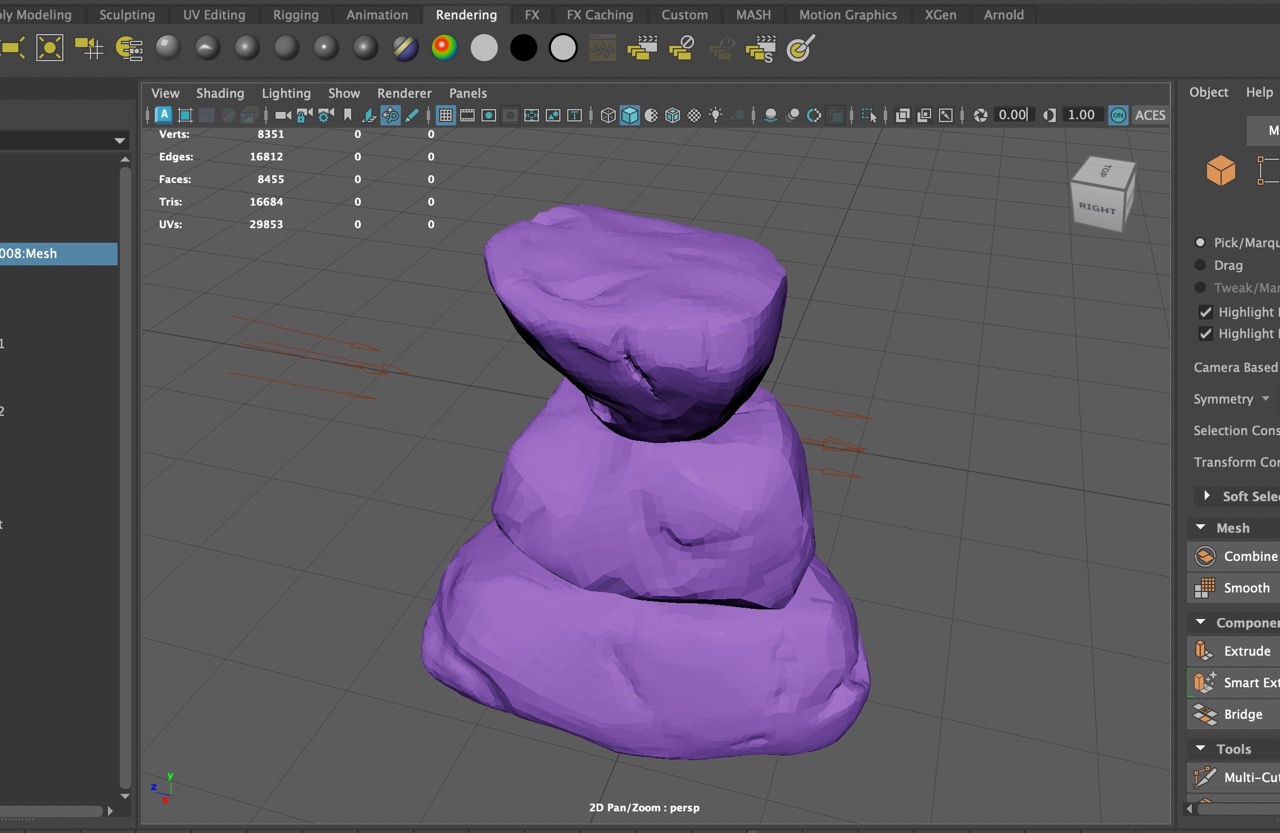
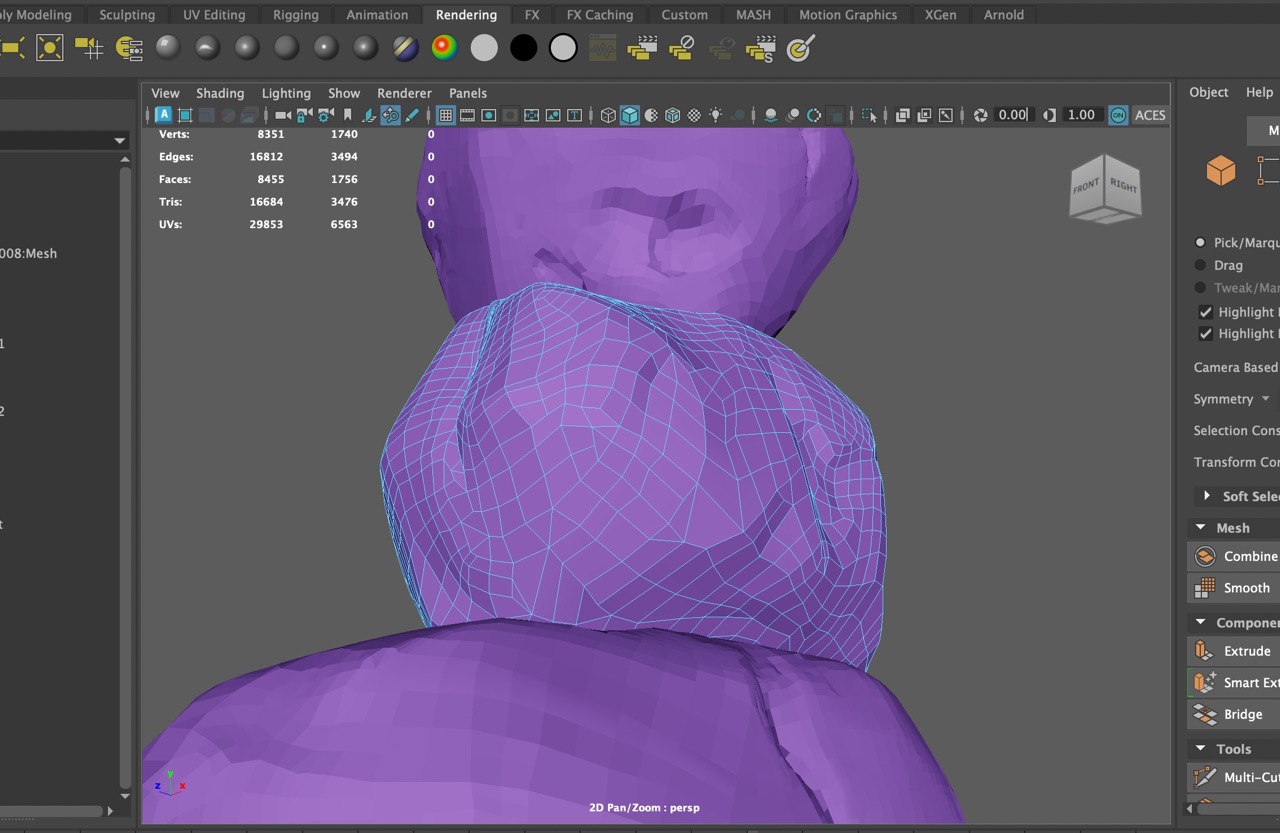
Finally, this is what the low-poly version of my sculpting looks like, with an added material (rough, non-metallic and light in colour to better see some detail).
UV Layout
With the retopology done, it is now time to produce a UV map. This 2D coordinate system (and not the radiation type) allows us to unwrap or unfold the 3D model into a 2D space.
Much like a garment is a 3D object made of multiple 2D pieces of material sewn together, so are my rocks. Therefore, I'm gonna apply the inverse and cut 'seams' into my model, basically telling it where to unfold from.
This is the UV space of one of my rocks before mapping it.
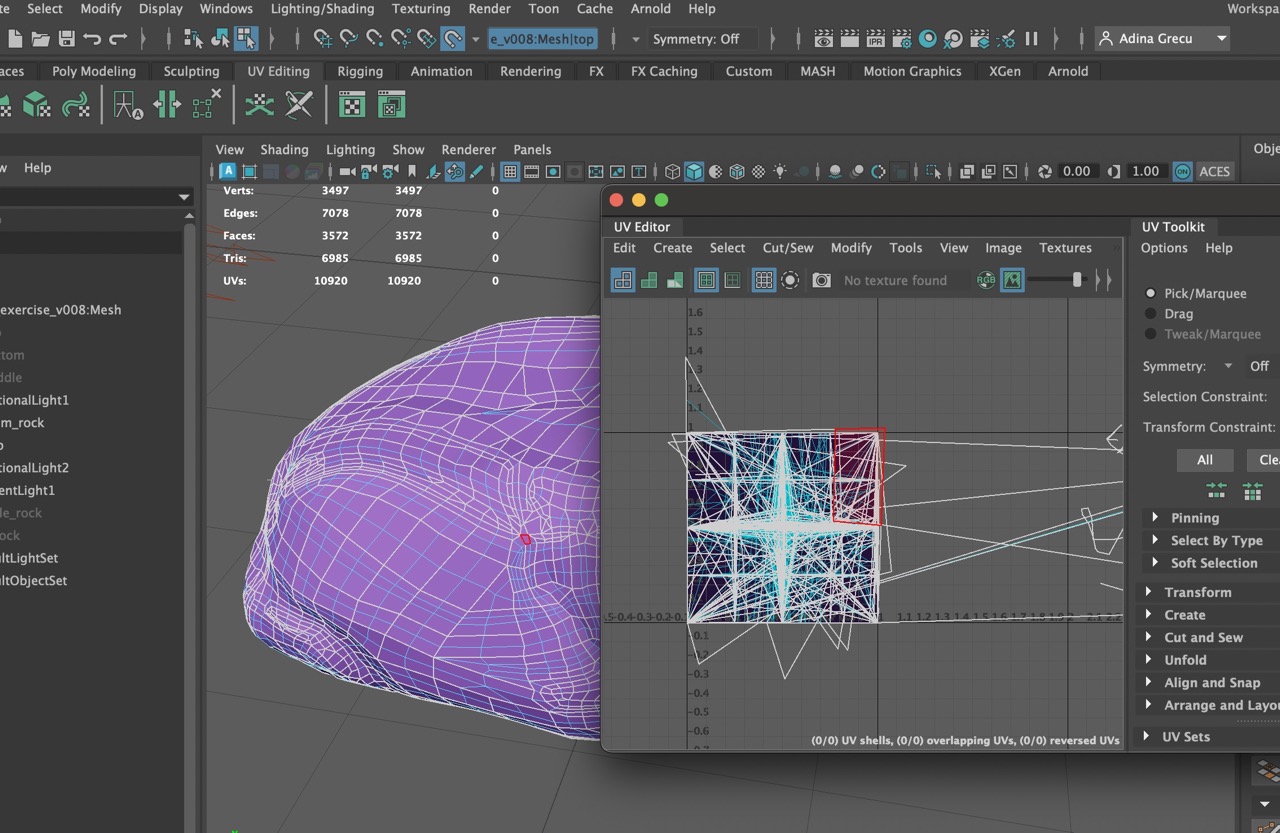
As you can tell, it's a mess. I first tried to automatically map it, just to see what it would look like. It wasn't horrible, but it wasn't good either. The more complex the model, the more likely it is for the auto mapping to produce weird results with orphan faces which you then have to painfully stitch back to their right place.
Remember my previous point when doing retopology? These are the seams I mentioned. If the geometry flows nicely and the planes are well defined, cutting seams takes very little time.
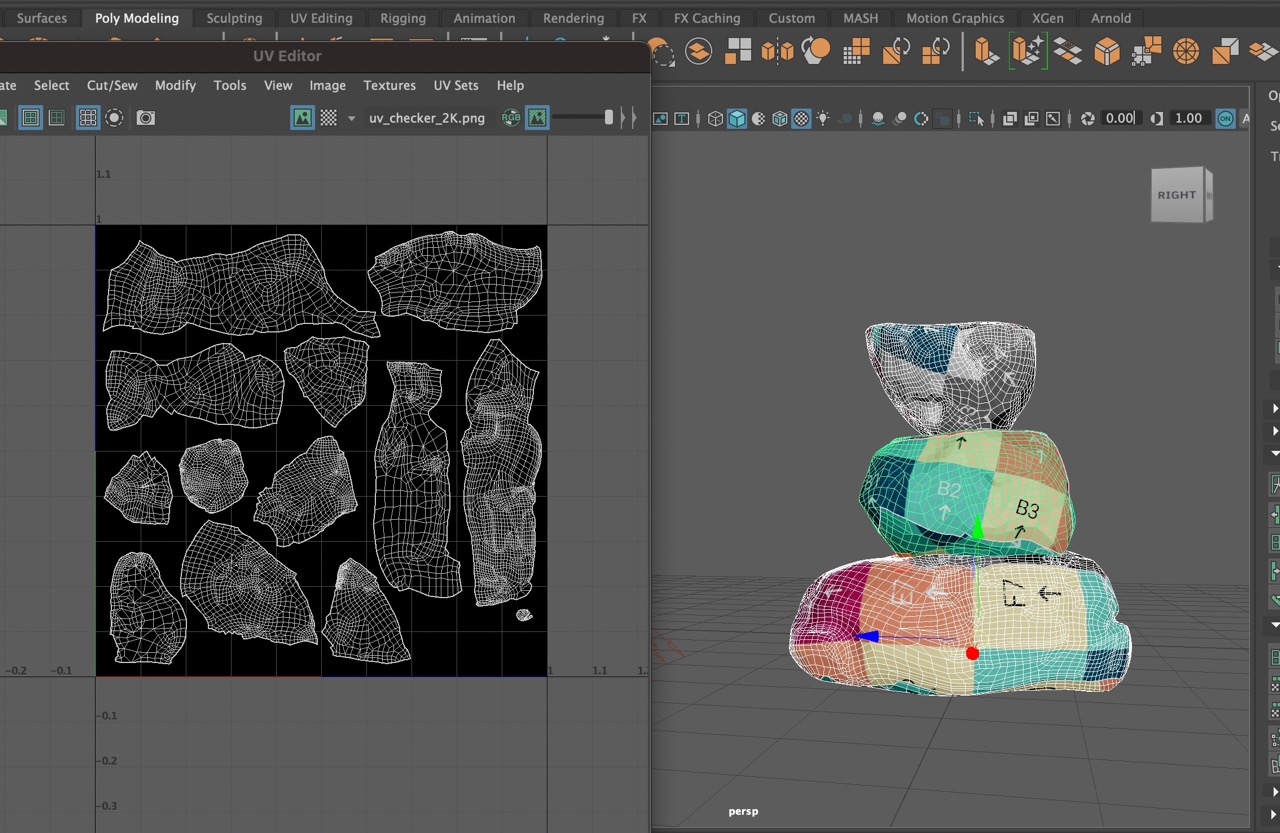
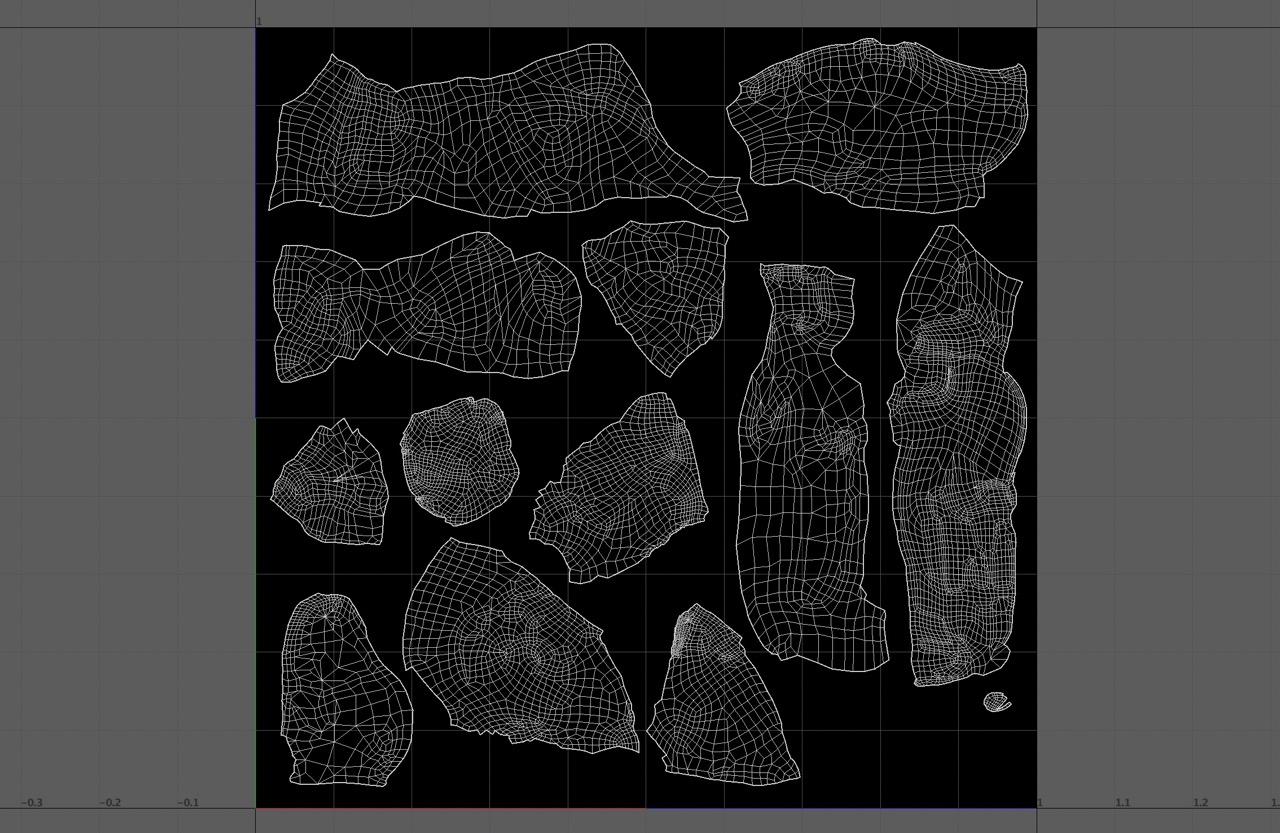
The UV space and the unfolded geometry. I scaled up the pieces that need more detail and scaled down those that are not in direct view, like the bottom of the rocks
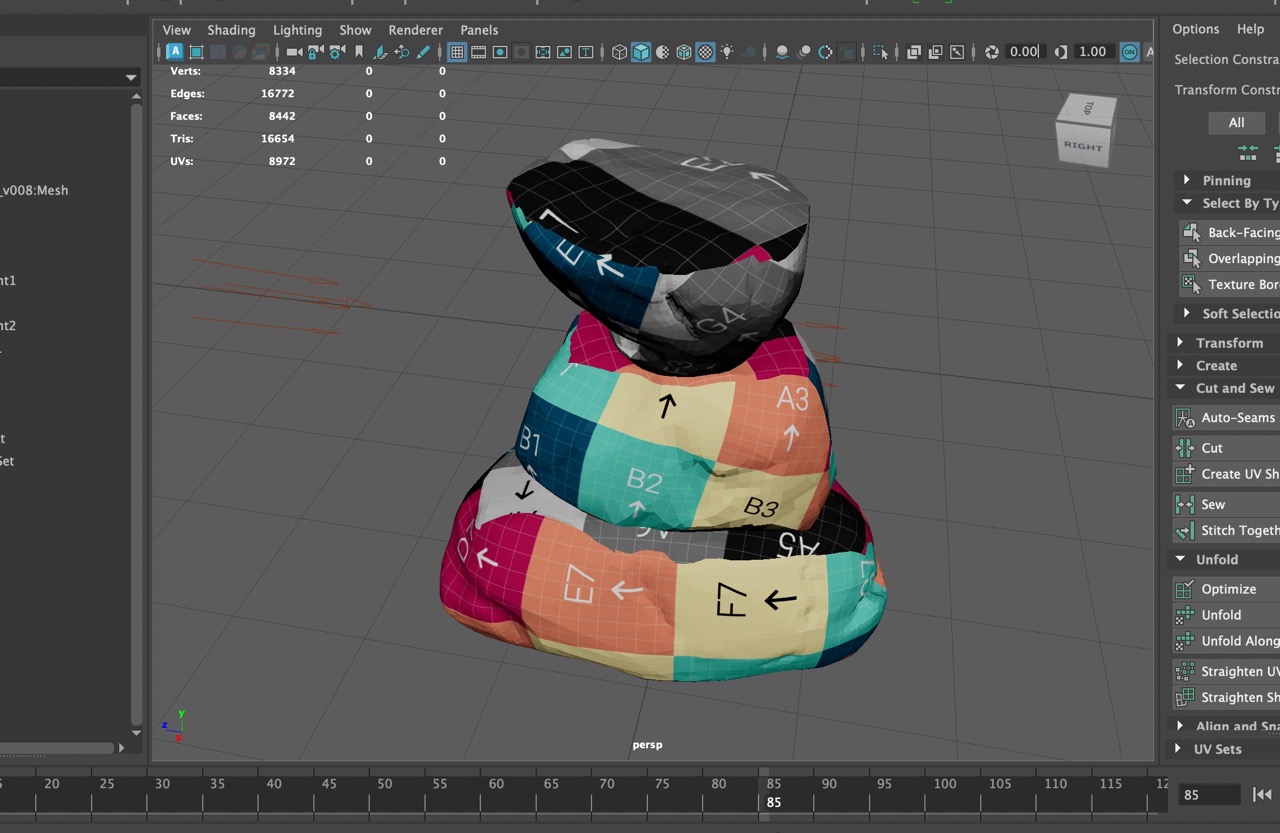
The final pieces have clear (and clean) seams with very few weird edges. I arranged them in a convenient layout that would maximise the space available in the UV map. The goal is to cover as much of the space as possible – the more space is covered, the higher the resolution of the applied material. I also used a UV map checker that I downloaded from here. The numbers and different colours immediately draw attention to possible issues (stretching, warping etc).
Baking the Normal map
So, now we have a high resolution, detailed mesh and a low resolution, low-poly mesh. We gave the low-poly mesh a nice UV map and now it's time to bake them all together!
Oven aside, the process of baking takes the data from the detail of the high-res mesh and 'bakes' it into the low-res mesh. In this way, we still have the advantages of the low-res mesh (smaller filesize, less memory), but with the surface detail of the high-res mesh.
One note about doing this in Maya is to make sure that the edges of the mesh are softened before baking, otherwise the Normal map will have some artefacts from the outlines of the polygons.
If done properly, the result is smooth texture and no visible seams. Back in Blender now, I applied a weird metallic texture to my model to see if anything was visible.
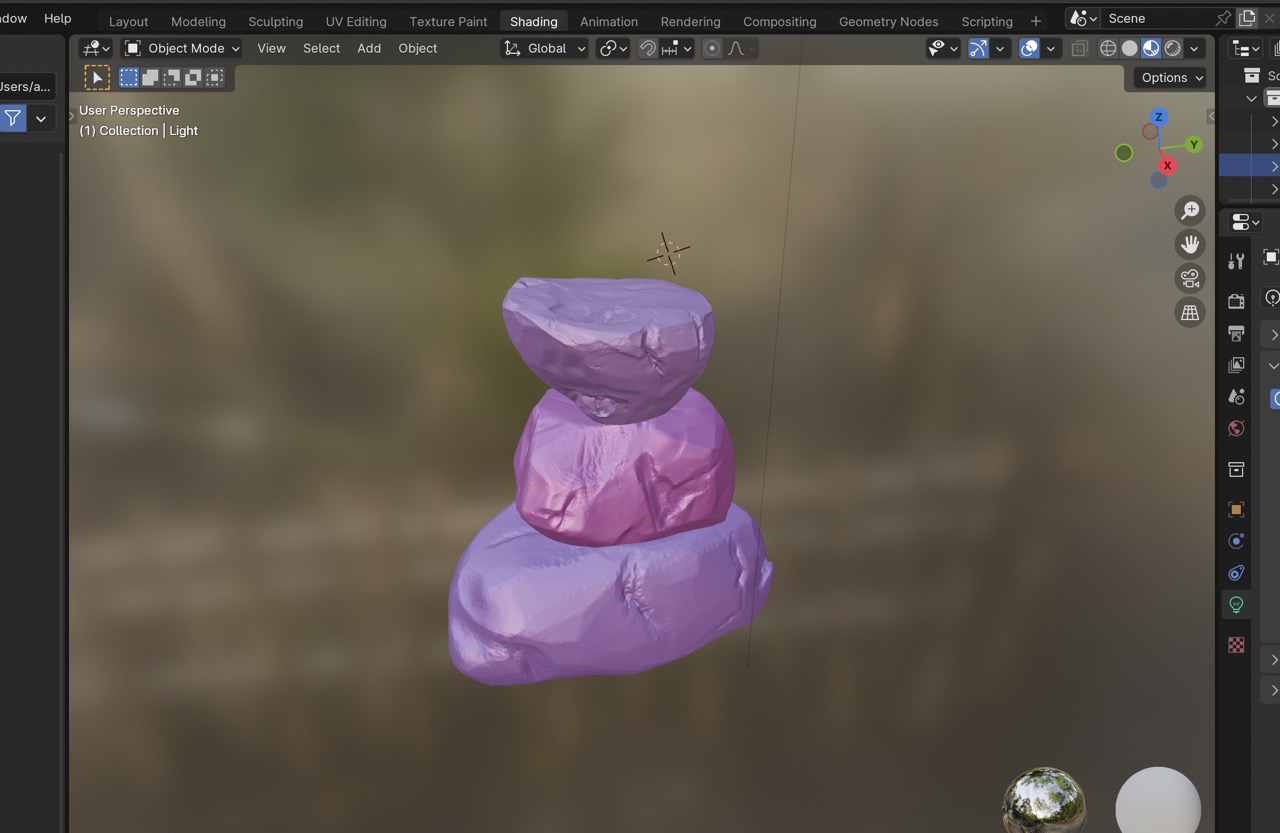
Can we all appreciate how fancy these rocks look?
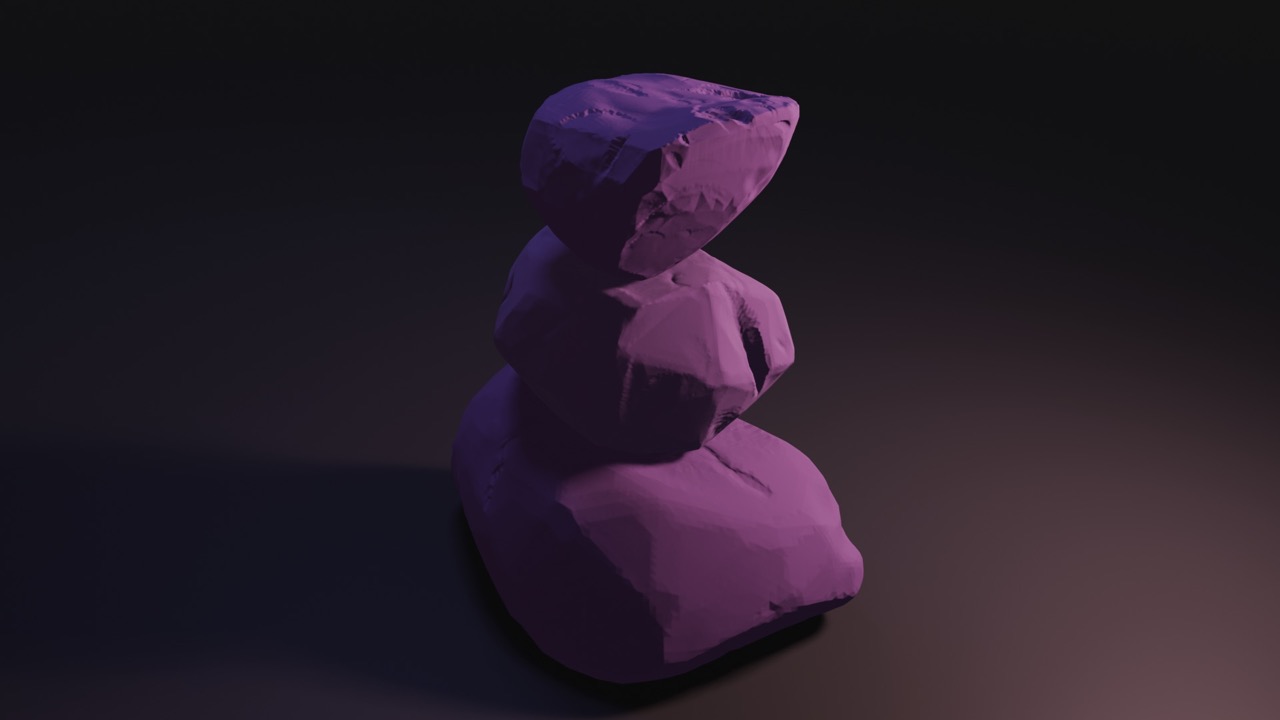
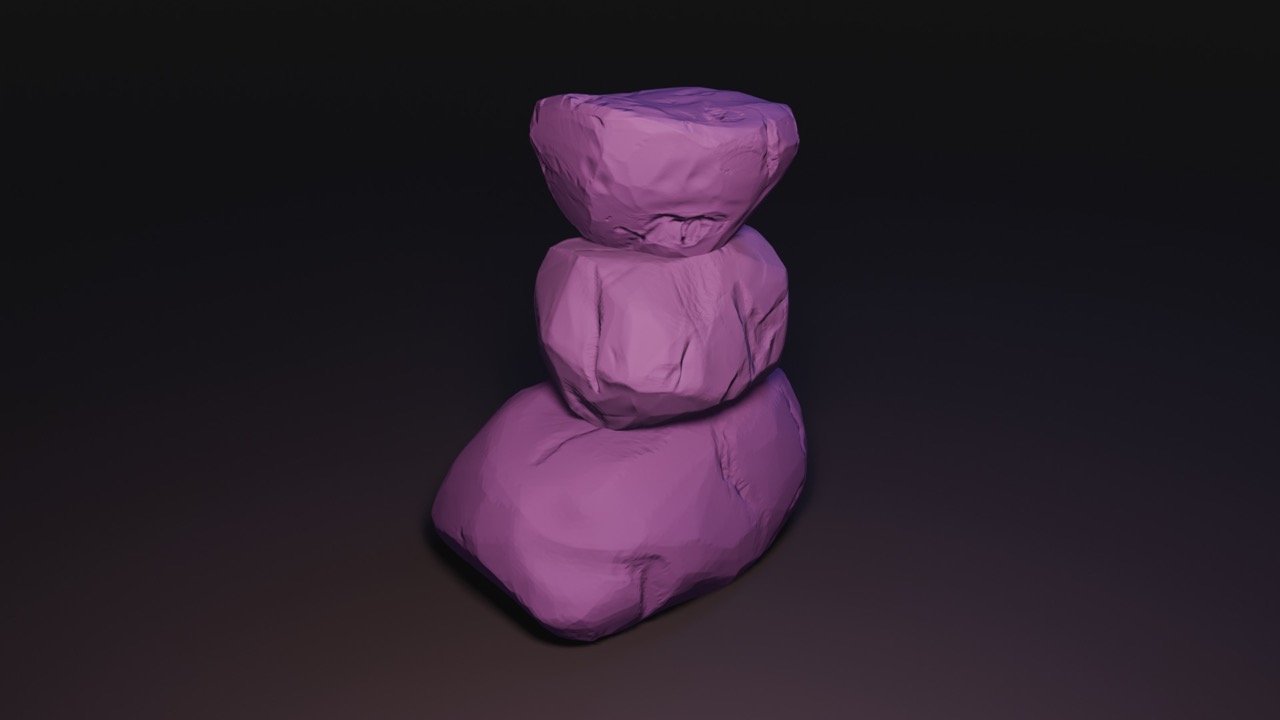
T'was all good, so I played around with the material, the lighting and the scene until I got something render-worthy (for now).
Key takeaways
Personally, the greatest asset (all puns intended) of this course is a solid grasp of the process. Tools change, update, appear and disappear, but a good understanding of the process means I can apply these steps to create any 3D asset (more or less).
In fact, the course is quite old and uses a version of Blender which pre-dates their big UI update, meaning that a lot of things are arranged completely differently now. On top of that, I am using Industry Standard keybindings instead of the Blender specific ones. This is great for when I transition to other programs (which I did by moving to Maya), but not so great when following tutorials and people only specify the shortcuts they're using, not the action they are doing.
Alas, with some good intuition, a few extra tutorials on the side and a bit of guidance I did everything I wanted to do and more. Now, I happily possess the power to build 3D rocks and I feel like a tiny achievement badge unlocked for my character.
'Till next time!