p5js – Random Circles/Grid
I took up p5js, as many do, in an attempt to learn some programming basics in a visual way. My first contact with p5js was in 2019 when I assisted for a Creative Computing summer school for university students. I eavesdropped on a course while doing my actual job, and I liked the idea of procedurally creating beautiful images. Ever since. I've had a few attempts at p5js with various degrees of success (including trying to re-write snake, which is an ongoing project). Fast forward to 2023, I have finally found it in myself to sit down and explore p5js, this time with a simple goal in mind: create an interesting piece only with circles.
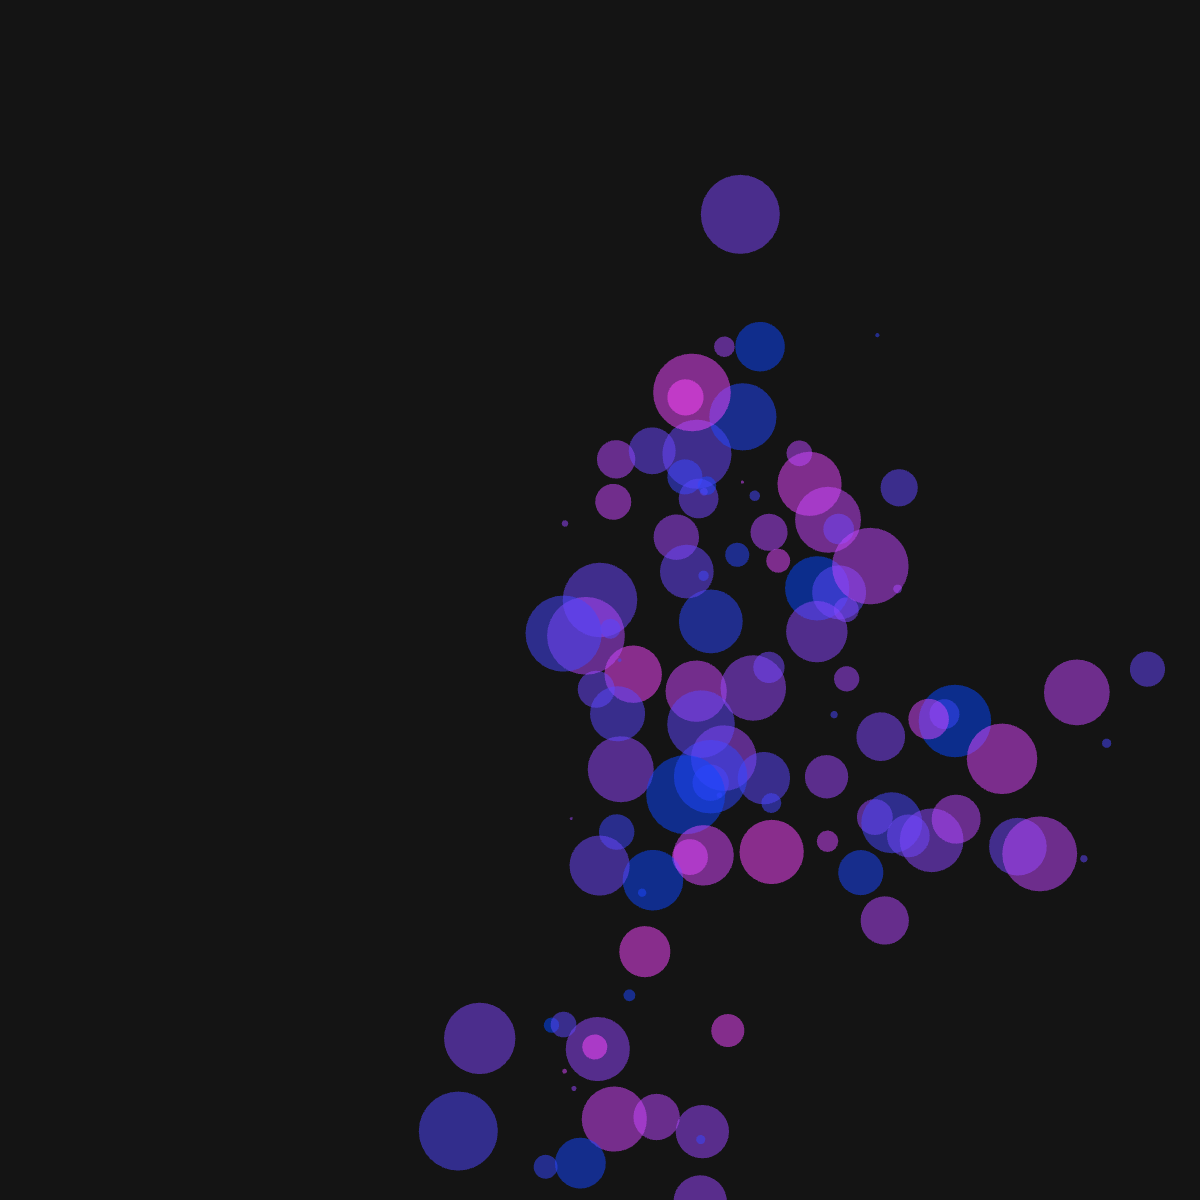
Before I could unleash the power of creativity on a beautifully randomised circle design, I hit my first wall: I could not get the circles to spread across the entire area of the screen. I had the right intuition in writing a loop that would increment with each cycle and create a randomised number of circles. However, the way I was incrementing the loop meant that instead of spreading the circles across the entire area of my canvass, I was creating a diagonal line, from top left to bottom right.
For those familiar with p5js, you might know what I was doing wrong. For those not so familiar, the explanation goes as such: I was incrementing (+1) in axes x and y with each cycle, making my coordinates look like this: (x,y), (x+1, y+1), (x+2, y+2)...(x+n, y+n). If you draw this on a graph where x increases left to right and and y increases top to bottom, then you will get a line that moves diagonally. No ideal.
I wish I had a photo for this this stage in the process, but lesson learned for next time. I tinkered with the code a little and found a final form that would give me random circles, not evenly spread but random enough.
function setup() {
  createCanvas(600, 900);
}

function draw() {
  background(20);
  noLoop();
  noStroke();
  let number_of_circles = 120;
  let r = 70;
  posx = 300;
  posy = 300;
  for (i = 0; i < 600; i++){
    let red_range = random(0, 255);
    fill(red_range, 30, 200, 150)
      circle(posx, posy, random(40));
      posx += random(-r, +r);
      posy += random(-r, +r);

  }
}
This short, but hard earned snipped of code left me with some really nice images. These are some examples after running the code a few times.
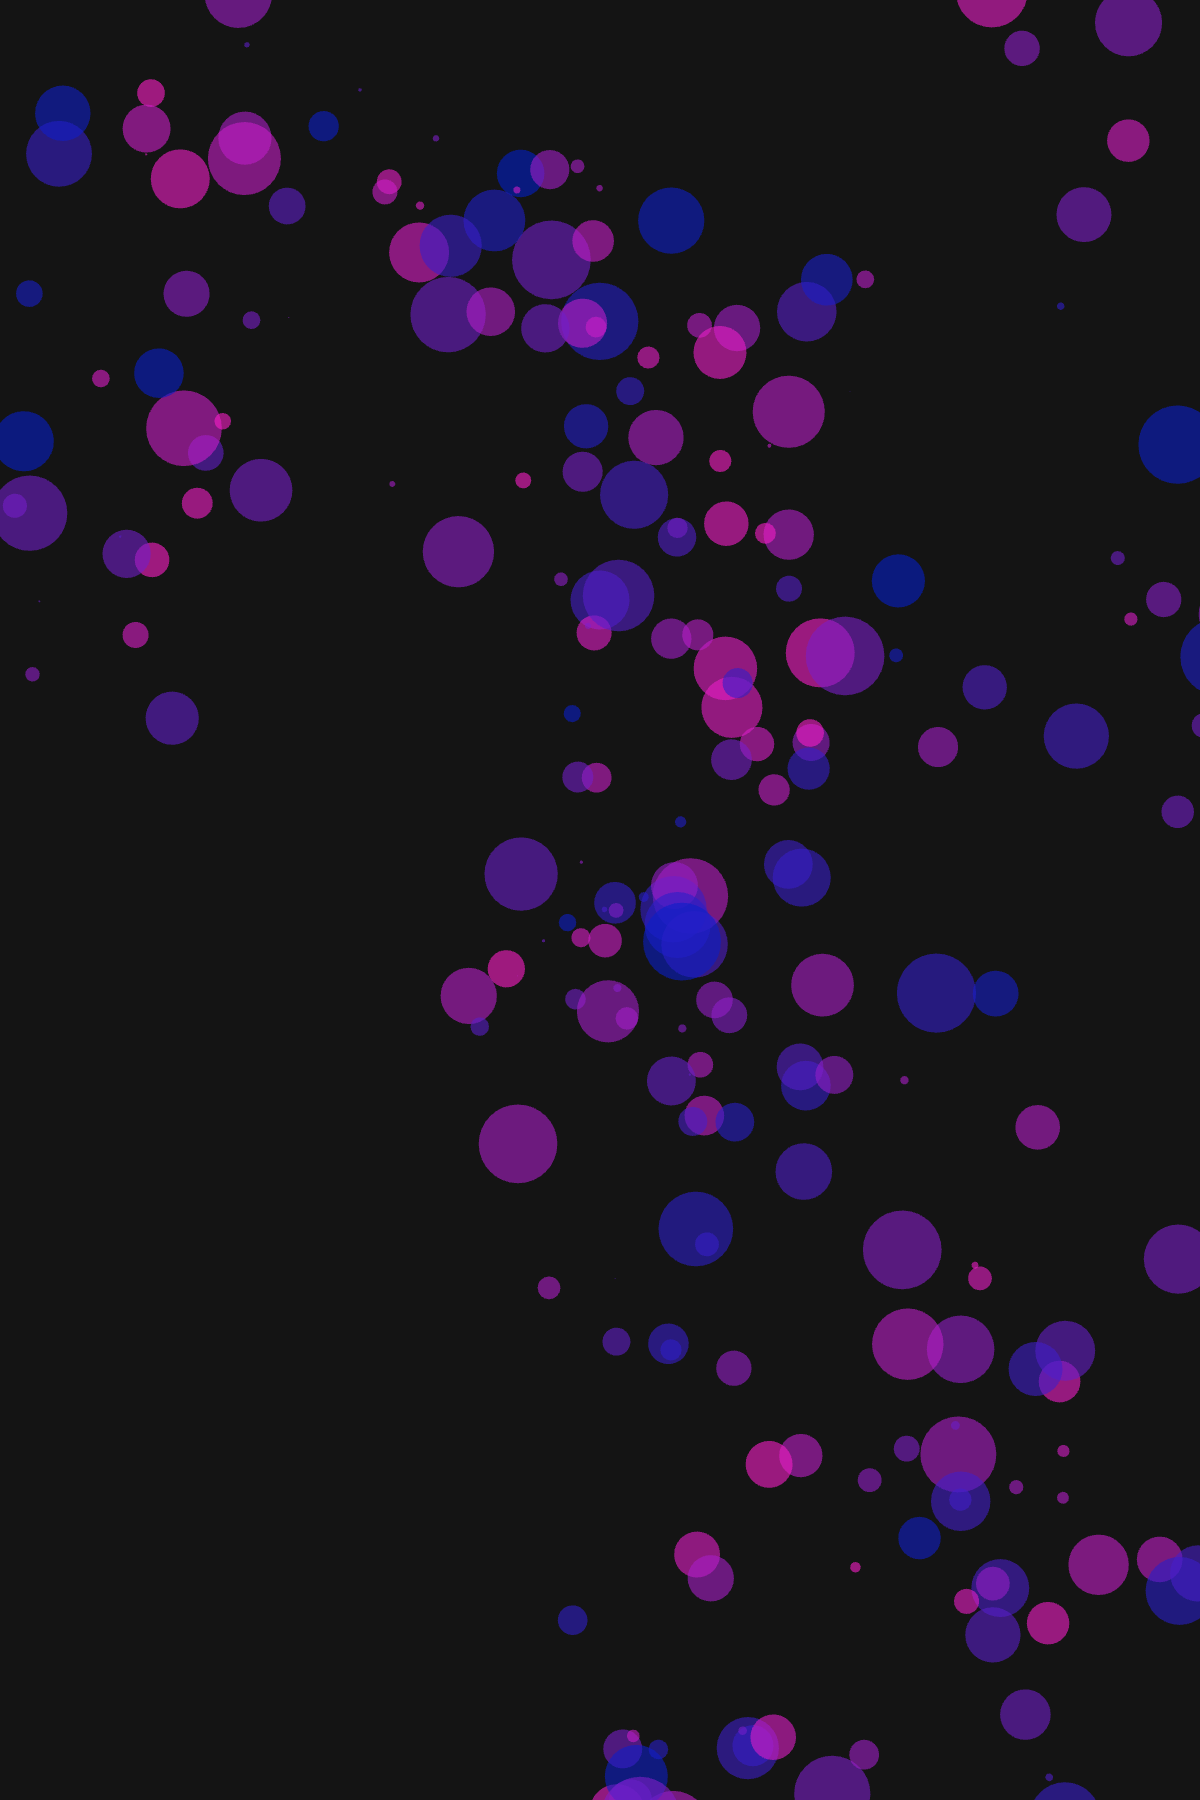
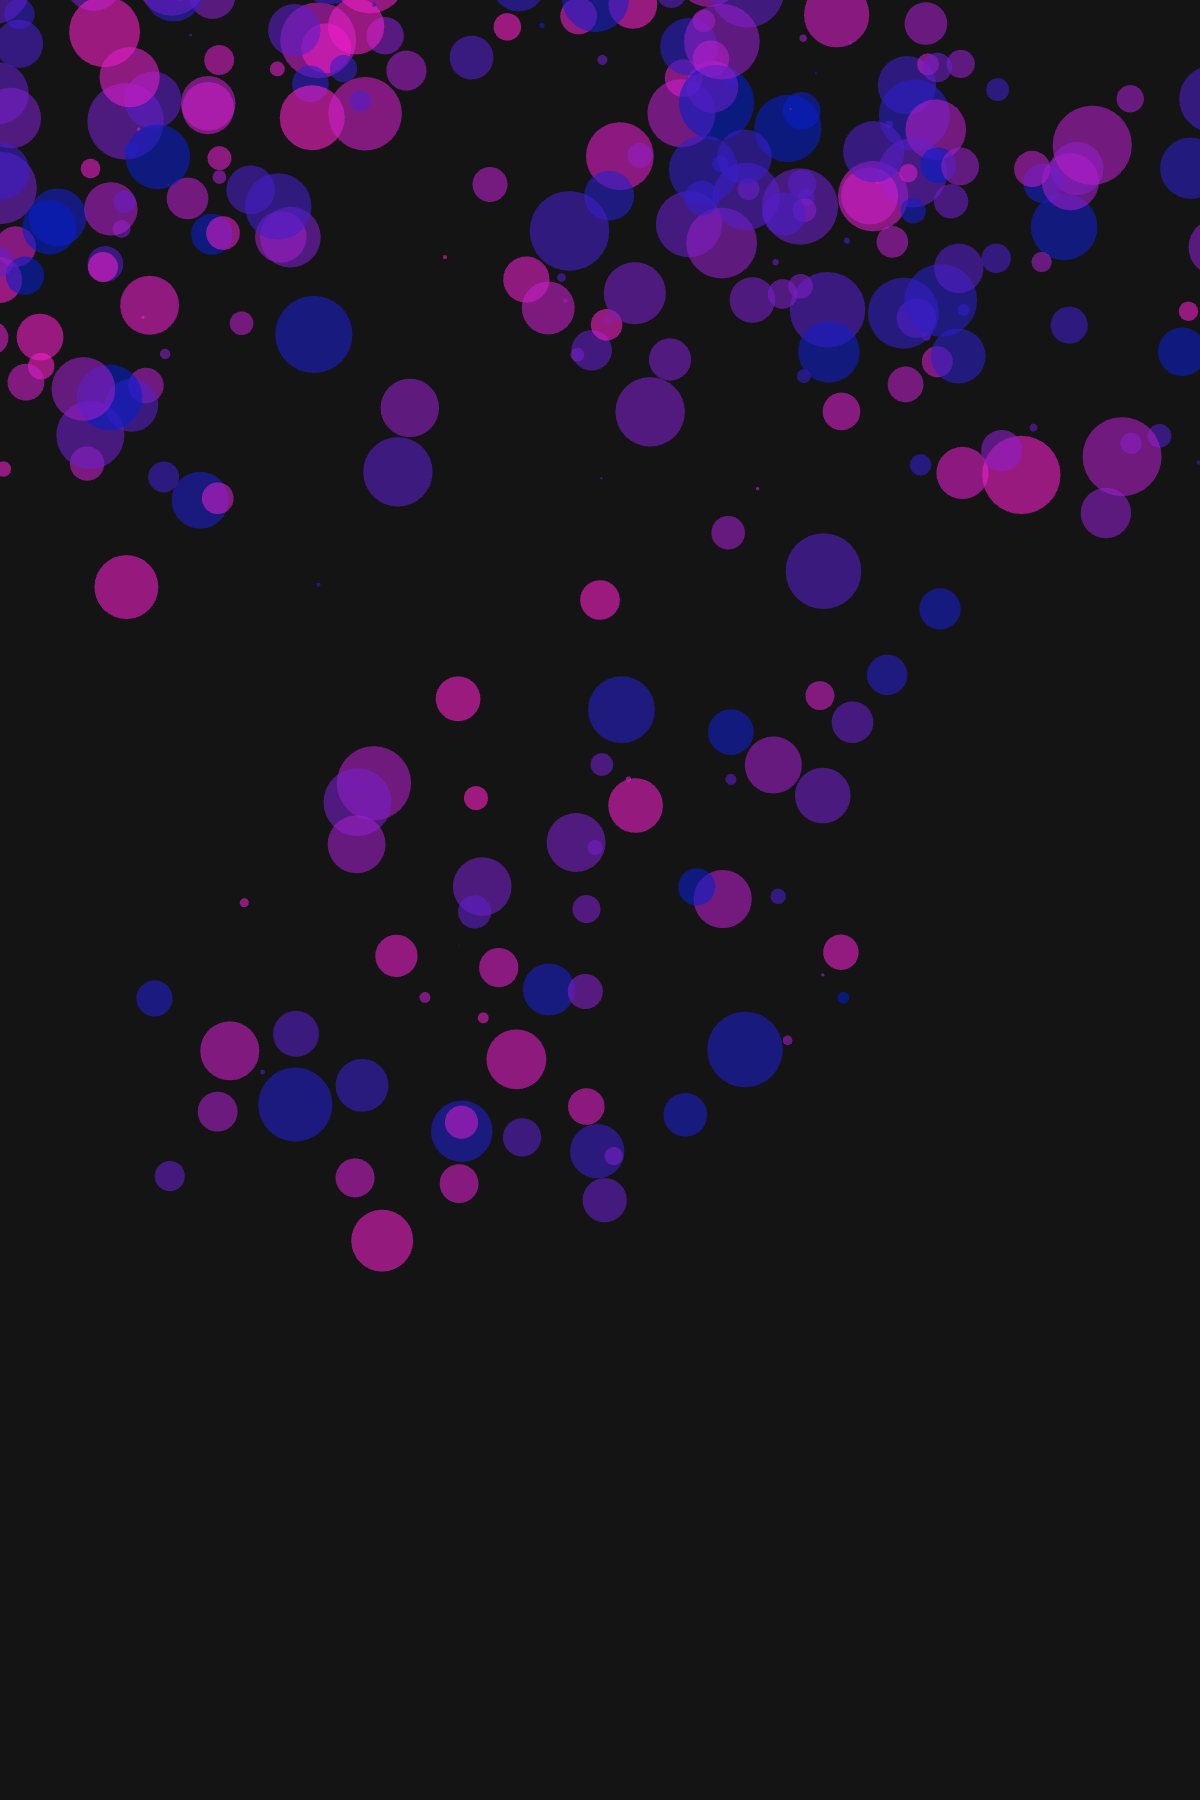
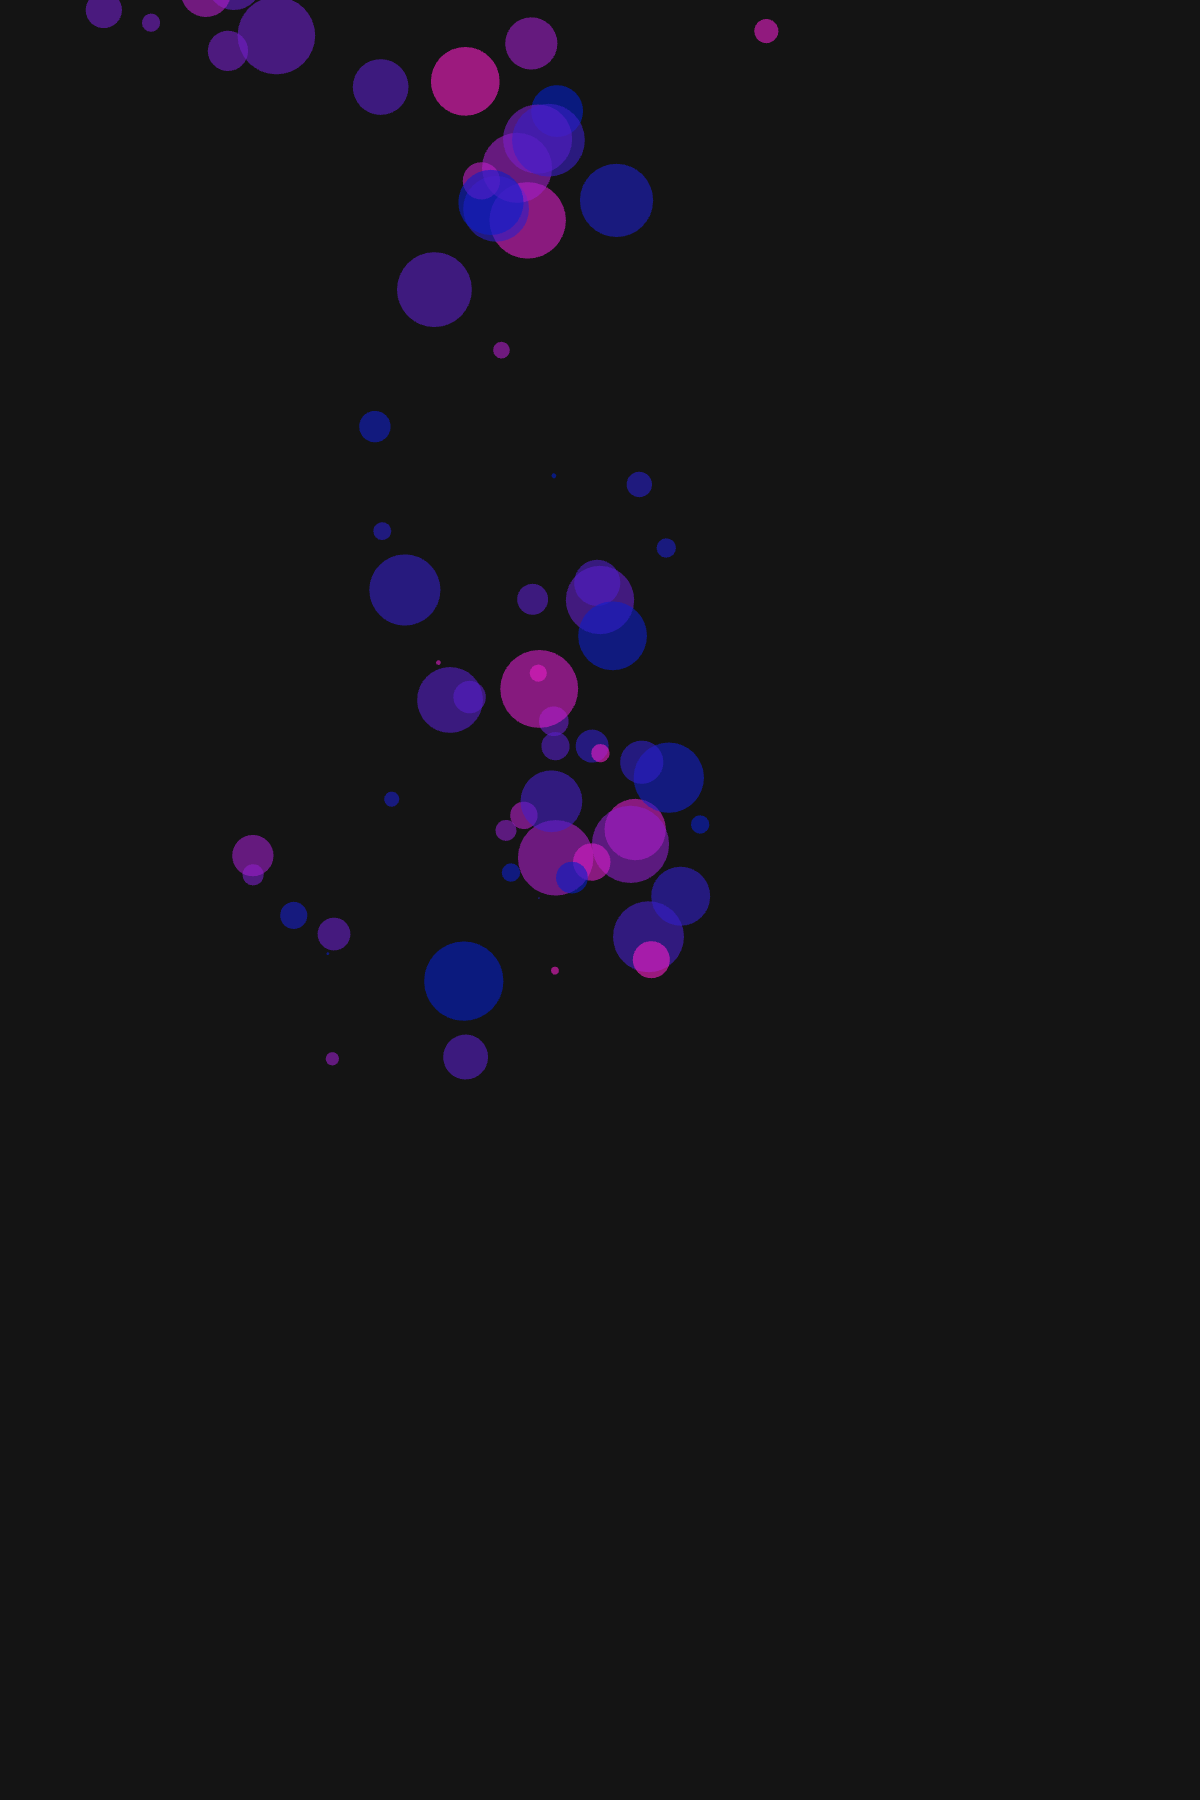
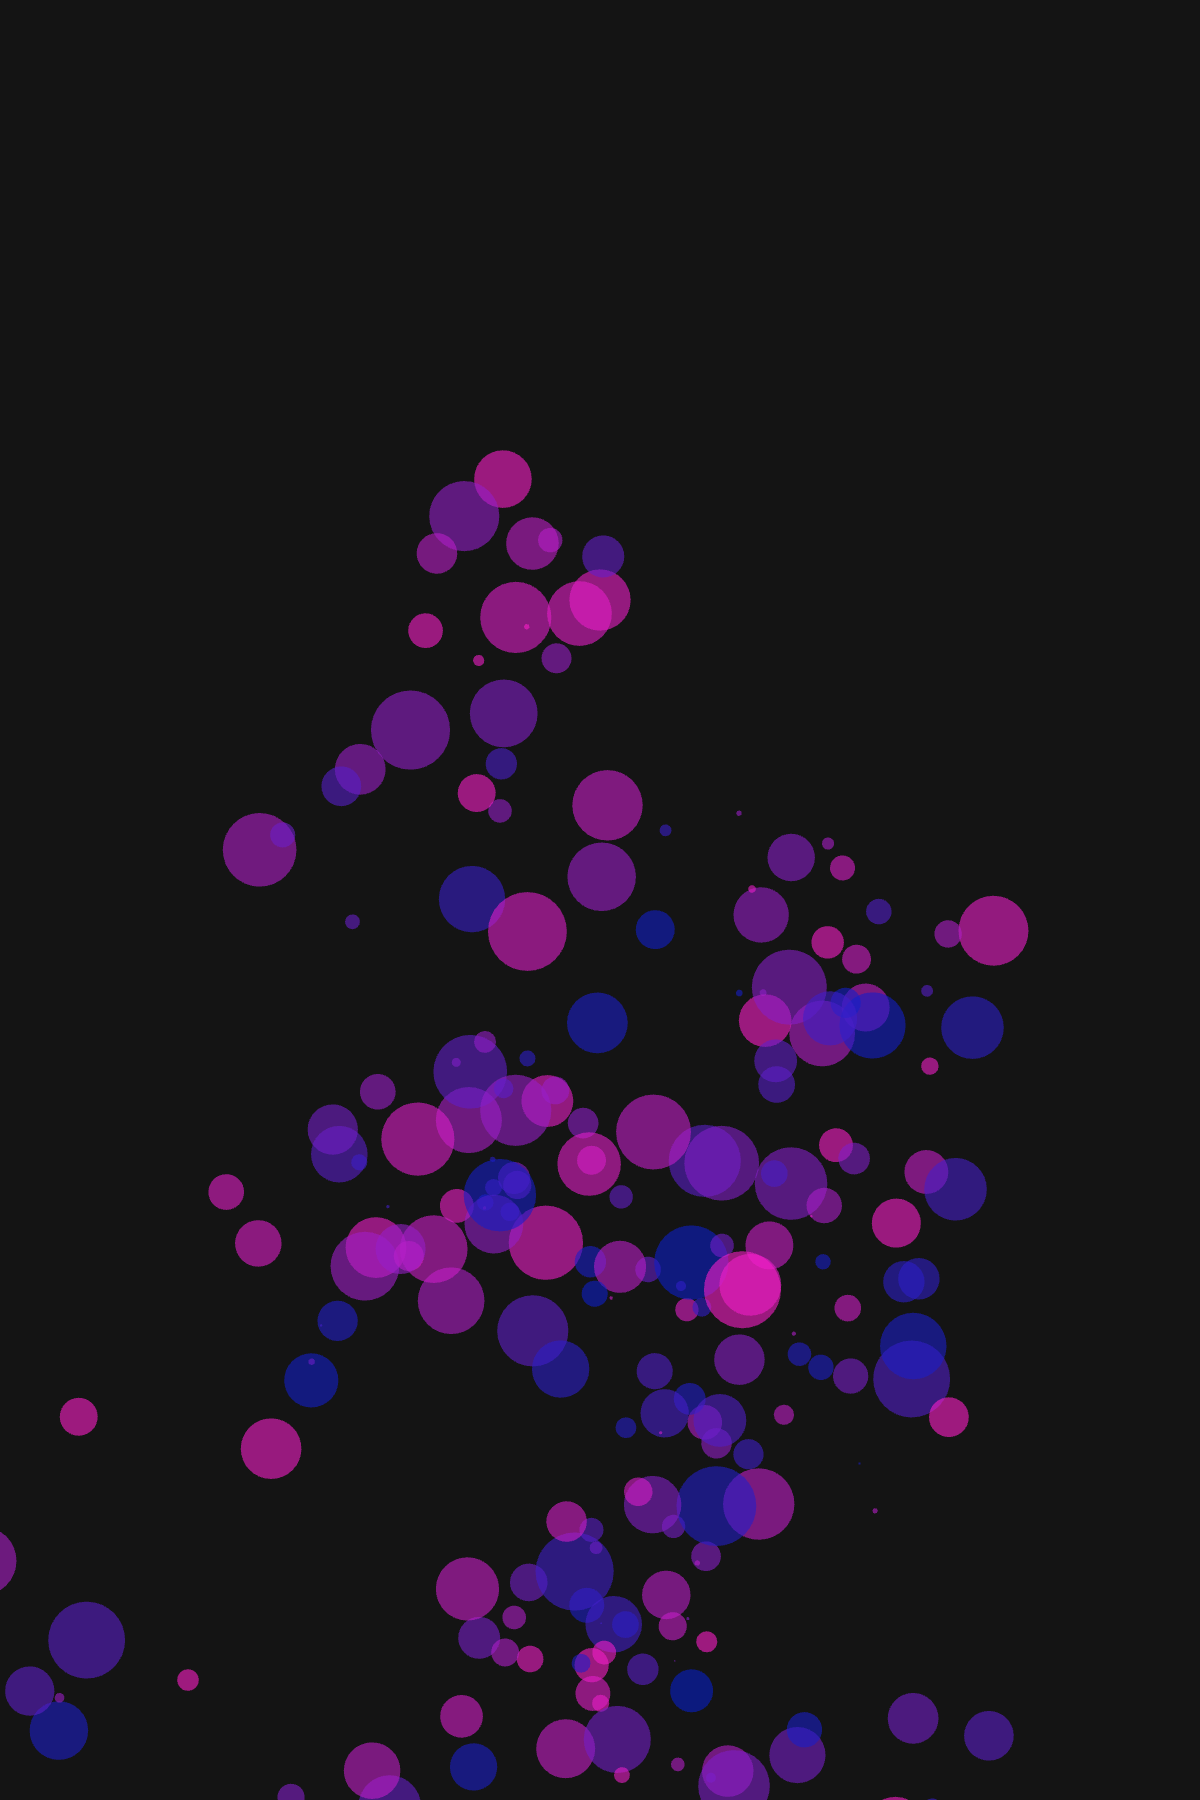
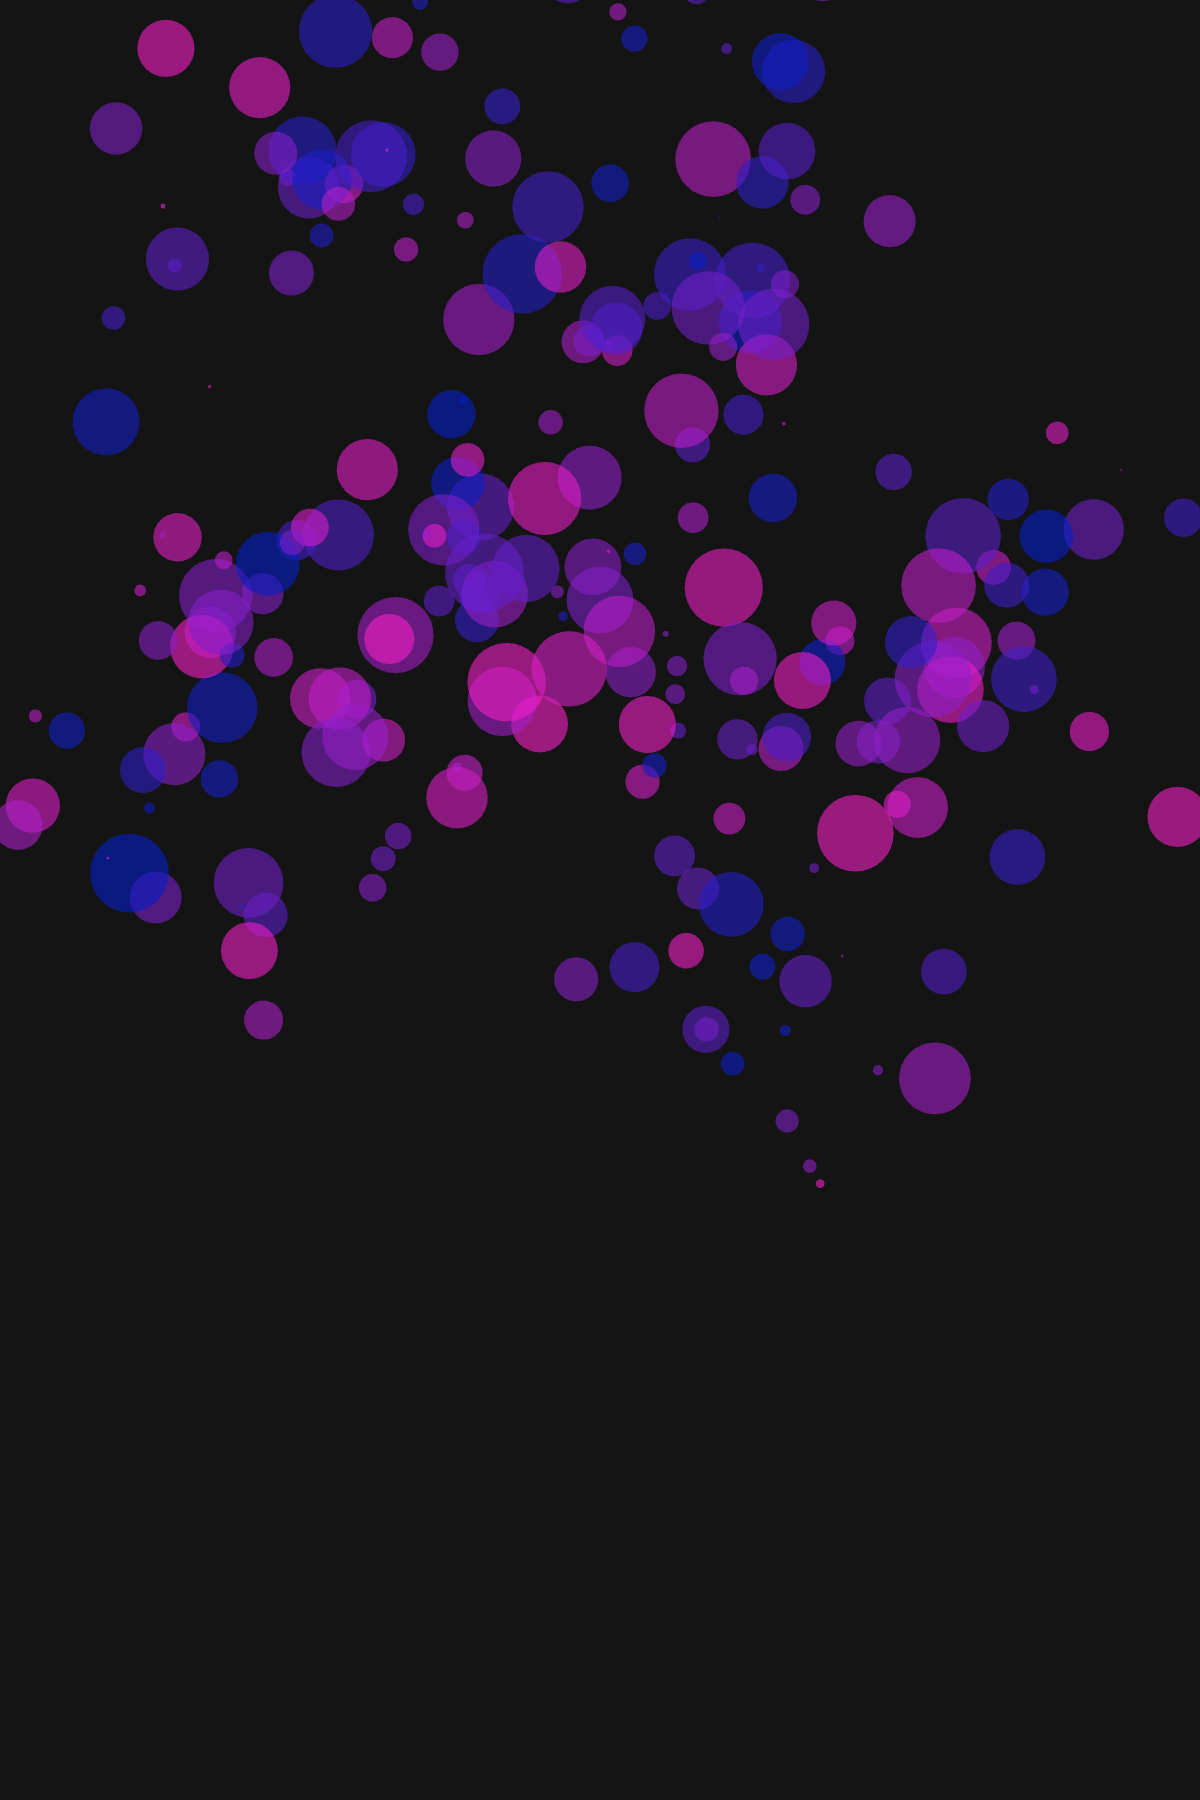
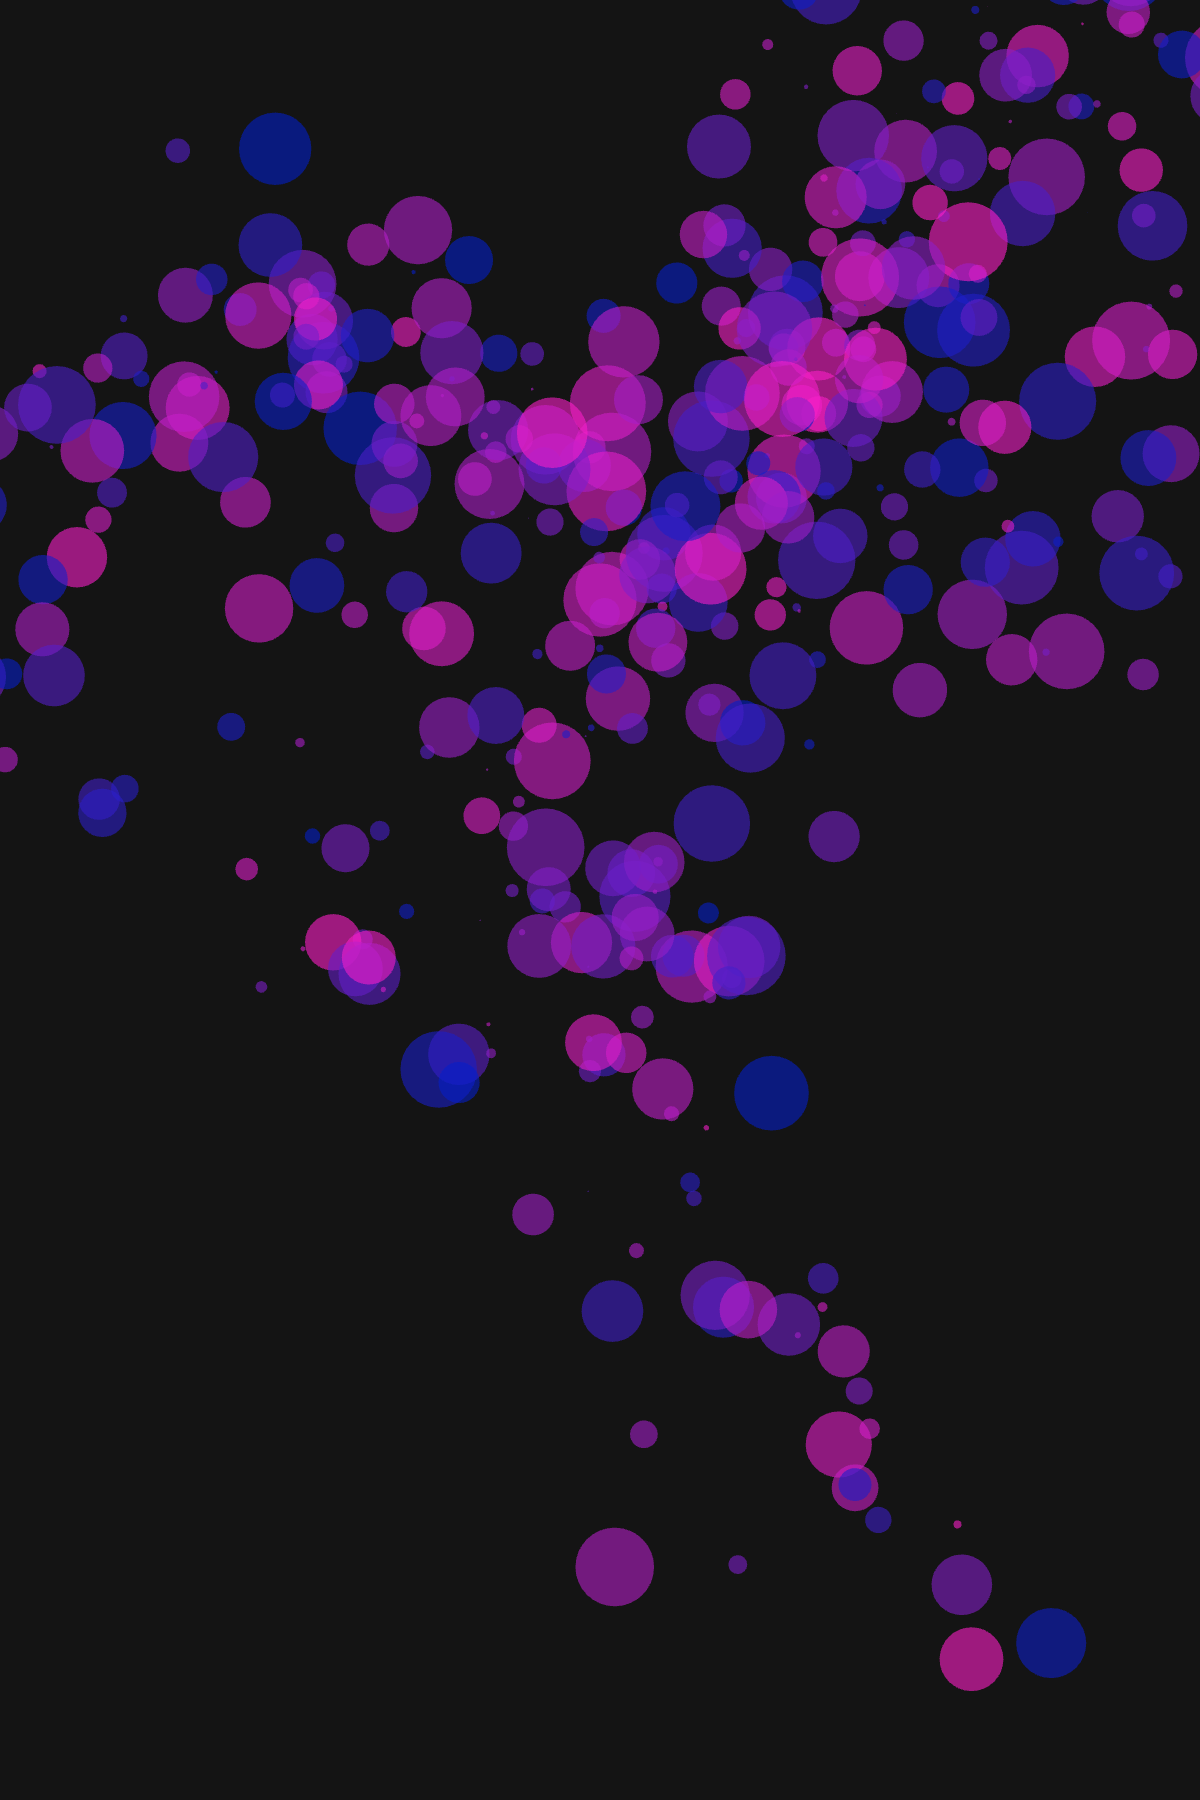
Now, this is nothing revolutionary as far as creative coding goes, but it felt like an achievement in the right direction. From here, my next goal was to populate the entire screen with a grid-like structure that would generate circles of various sizes and colours.
To tackle the challenge, I approached the concept of matrix for the first time, in an attempt to get little, evenly spread circles across my screen. I've tackled this by creating a function that would work with the number of rows and columns as input, as well as the distance between rows and columns – the bigger the distance, the more spread the circles are.
The code I was happy with ended up looking like this:
function setup() {
  createCanvas(600, 900);
}

function new_matrix(rows, columns, distance){
  for(i = 0; i < columns; i++){
    for( j = 0; j < rows; j++){
      let red_range = random(0, 255);
      fill(red_range, 30, 150, 160)
      let size = random(0, 40);

      newposx = 3 + i * distance;
      newposy = 3 + j * distance;
      circle(newposx, newposy, size);

    }
  }
}

function draw() {
  background(20);
  noStroke();
  noLoop();
  new_matrix (50, 50, 20);
}
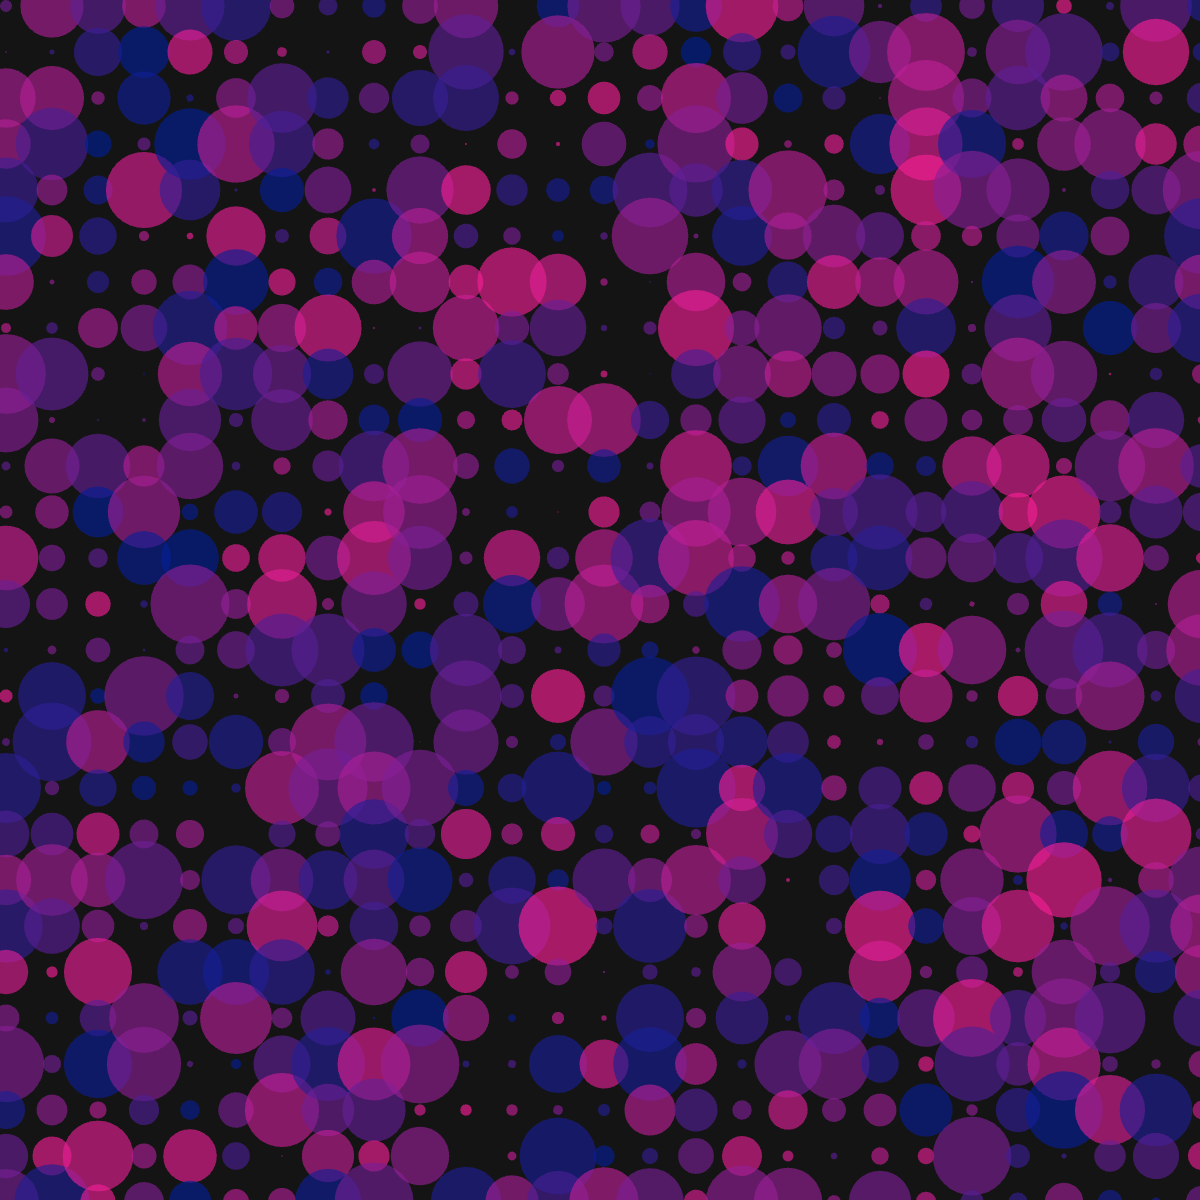
And the results of the code were these:
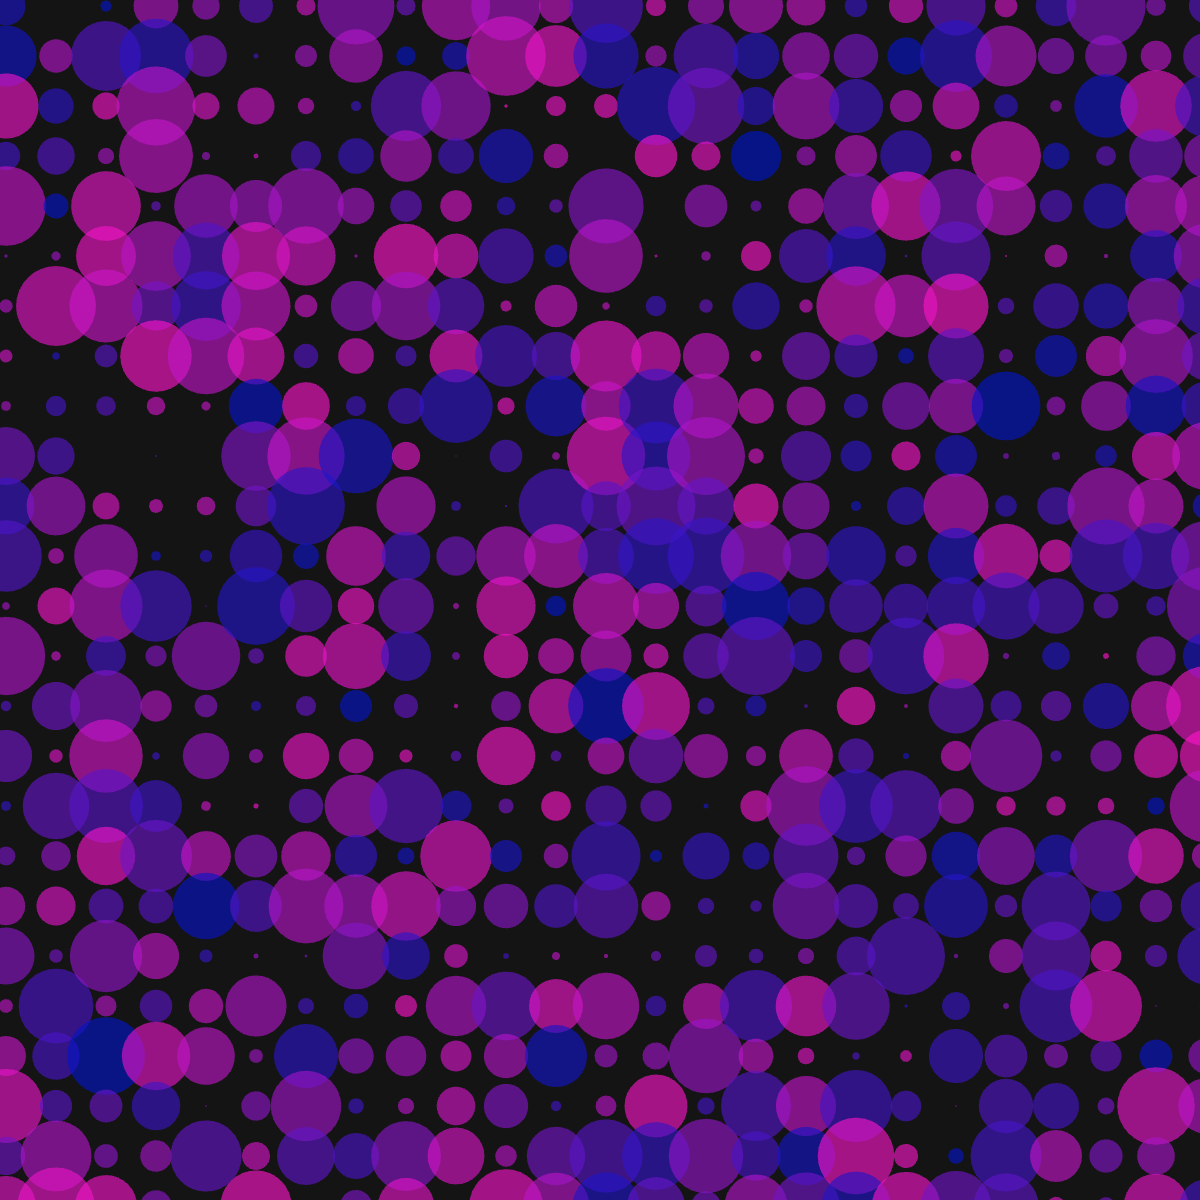
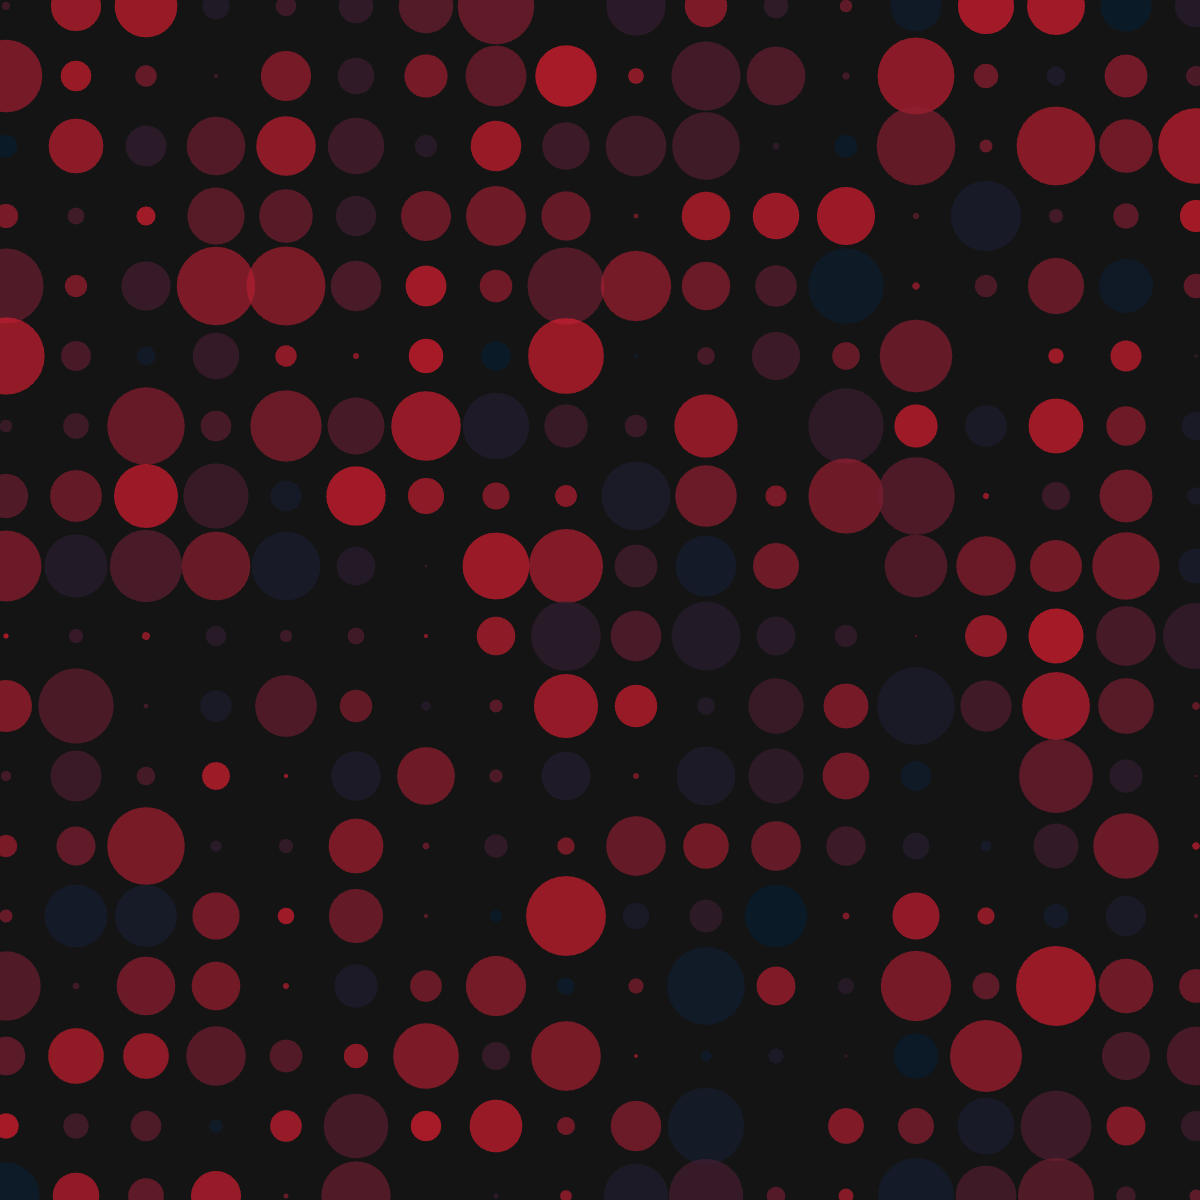
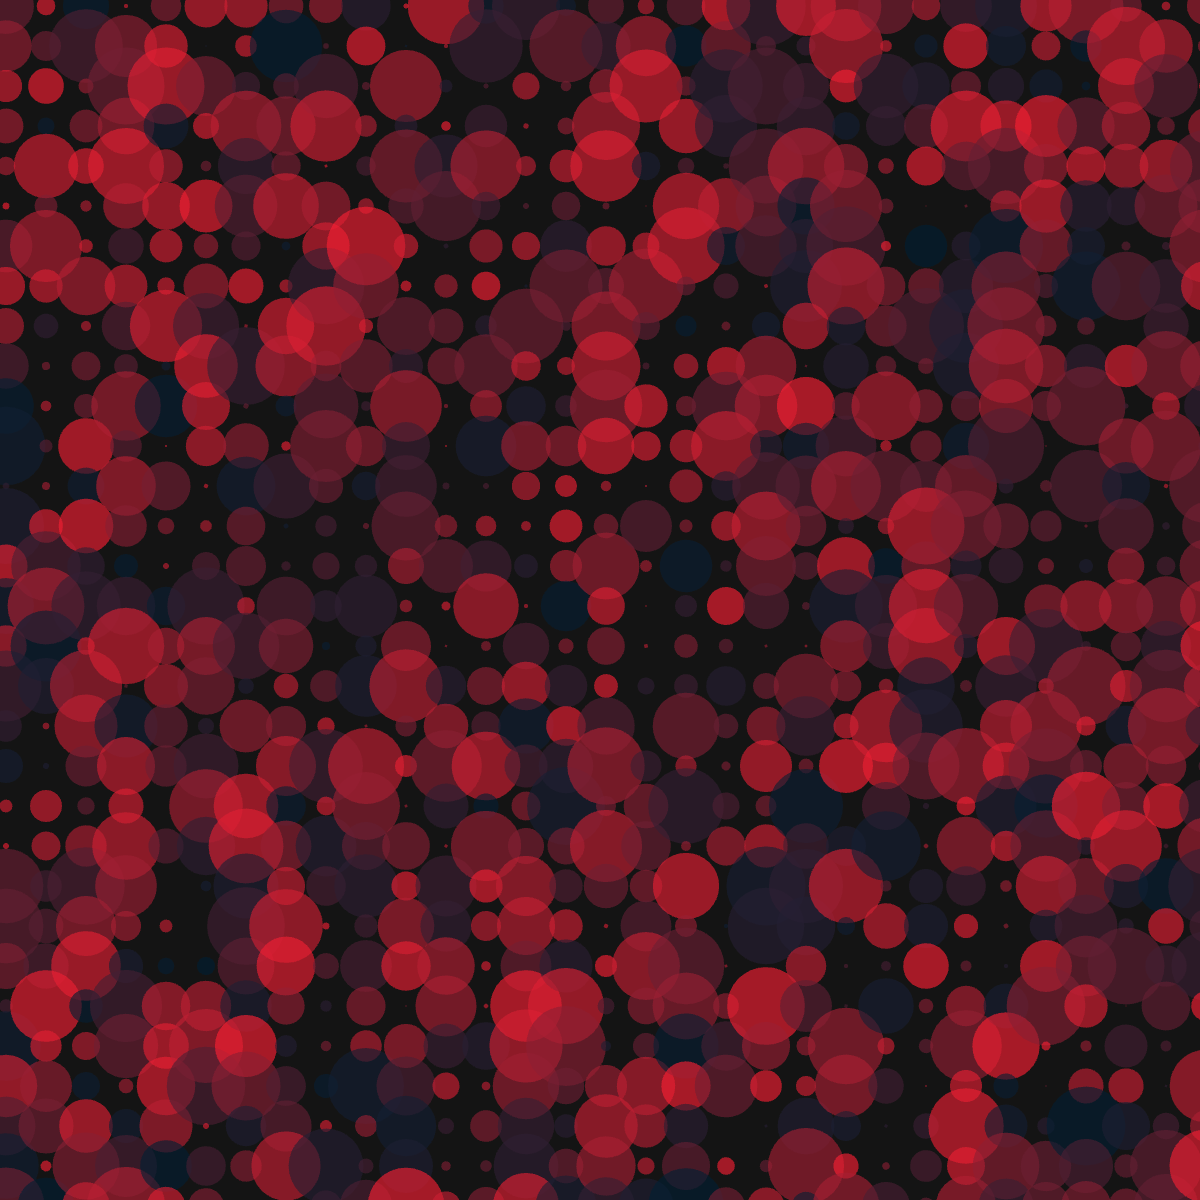
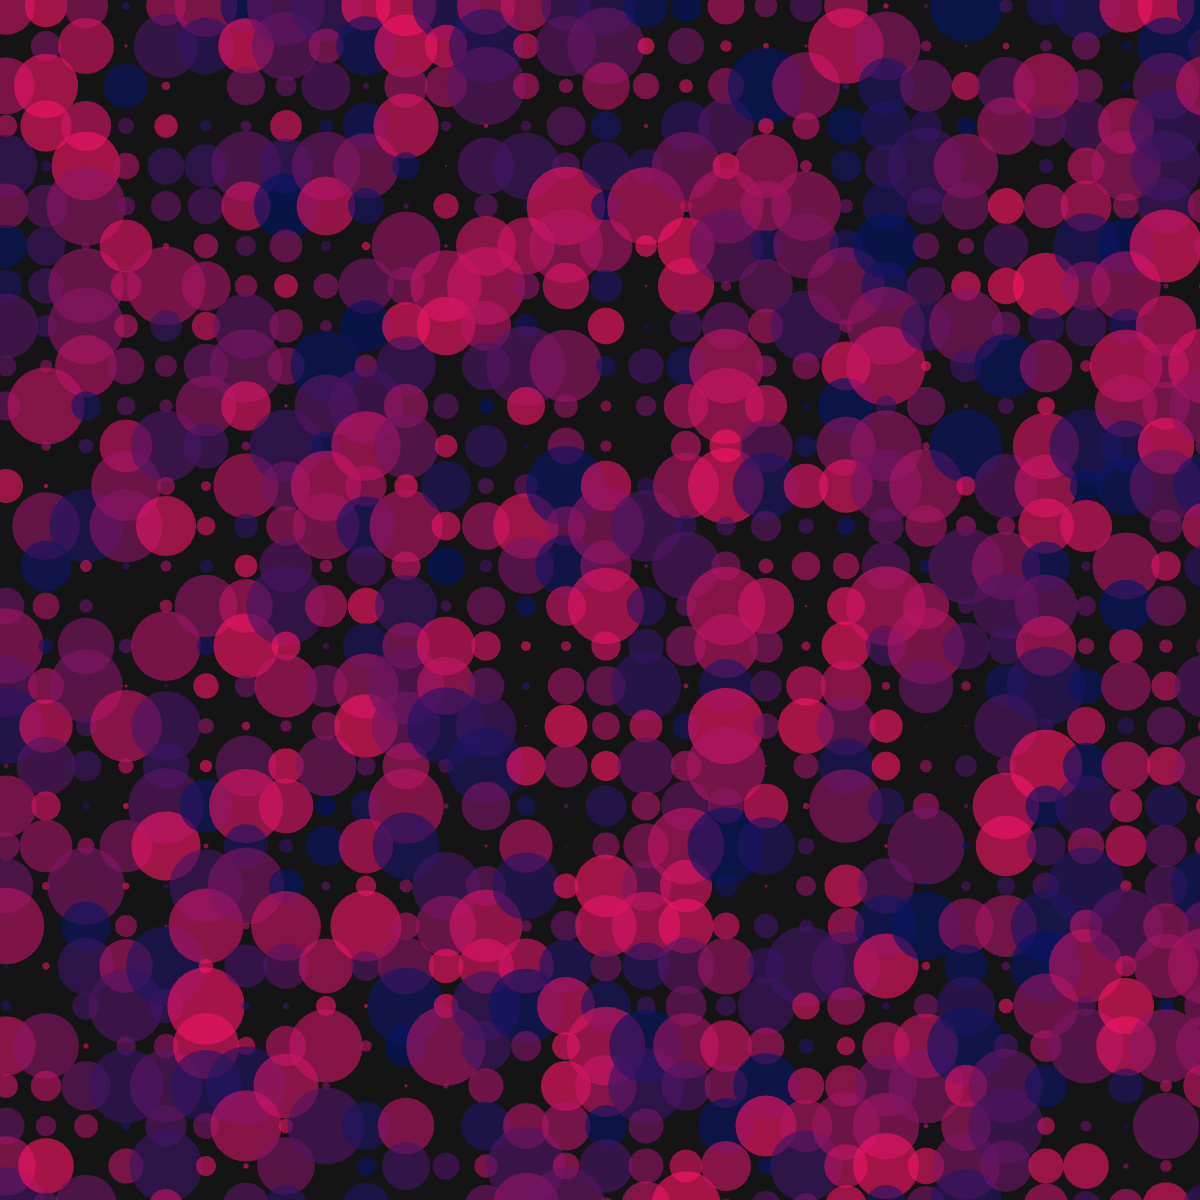
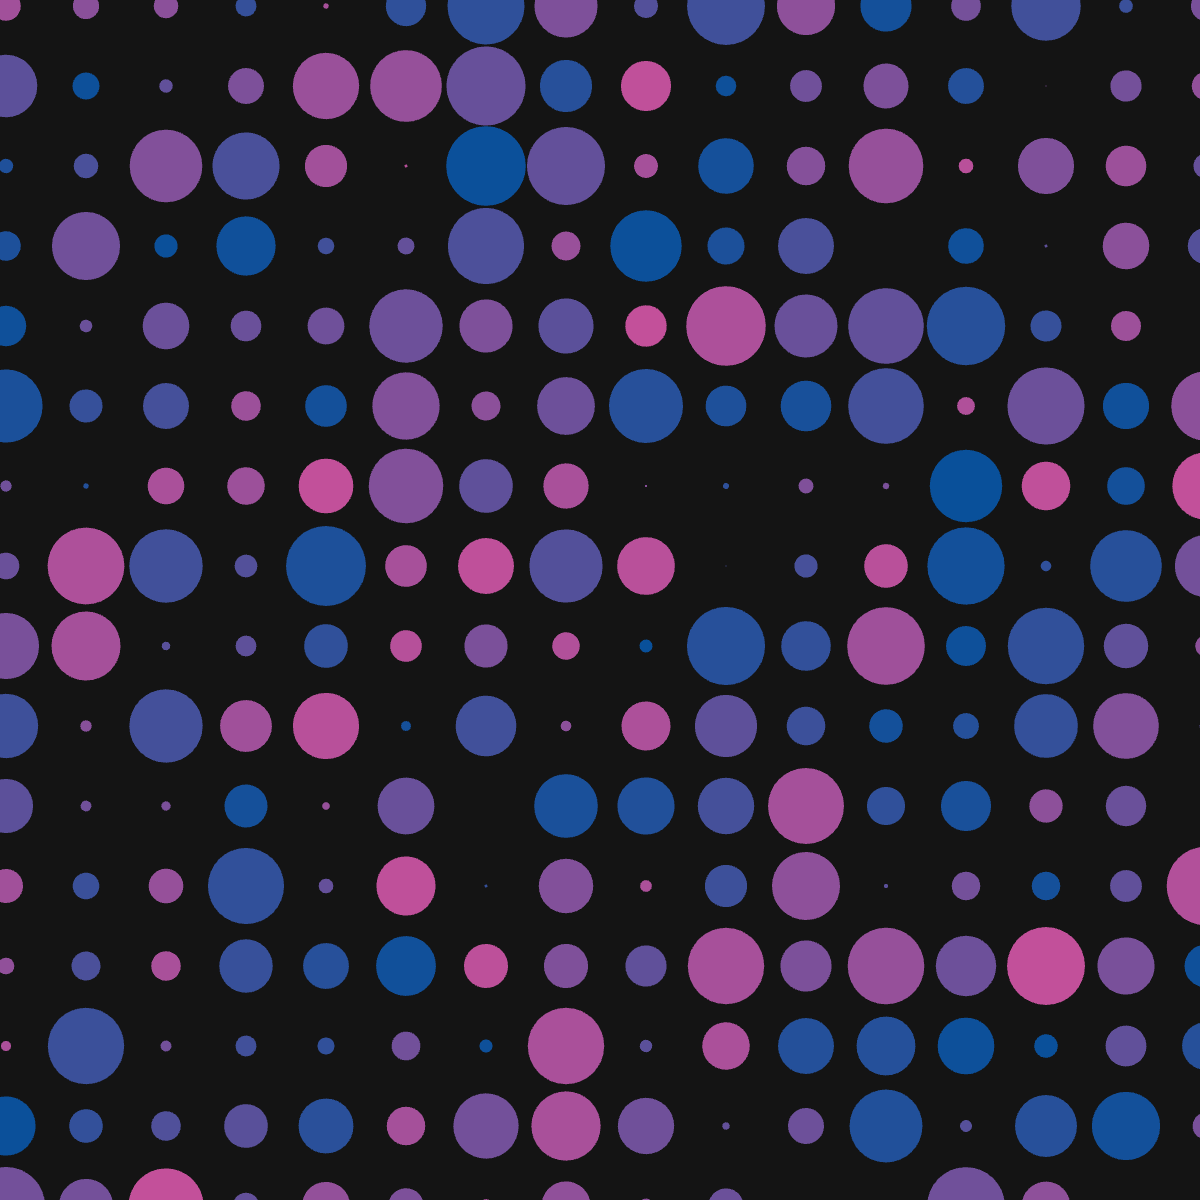
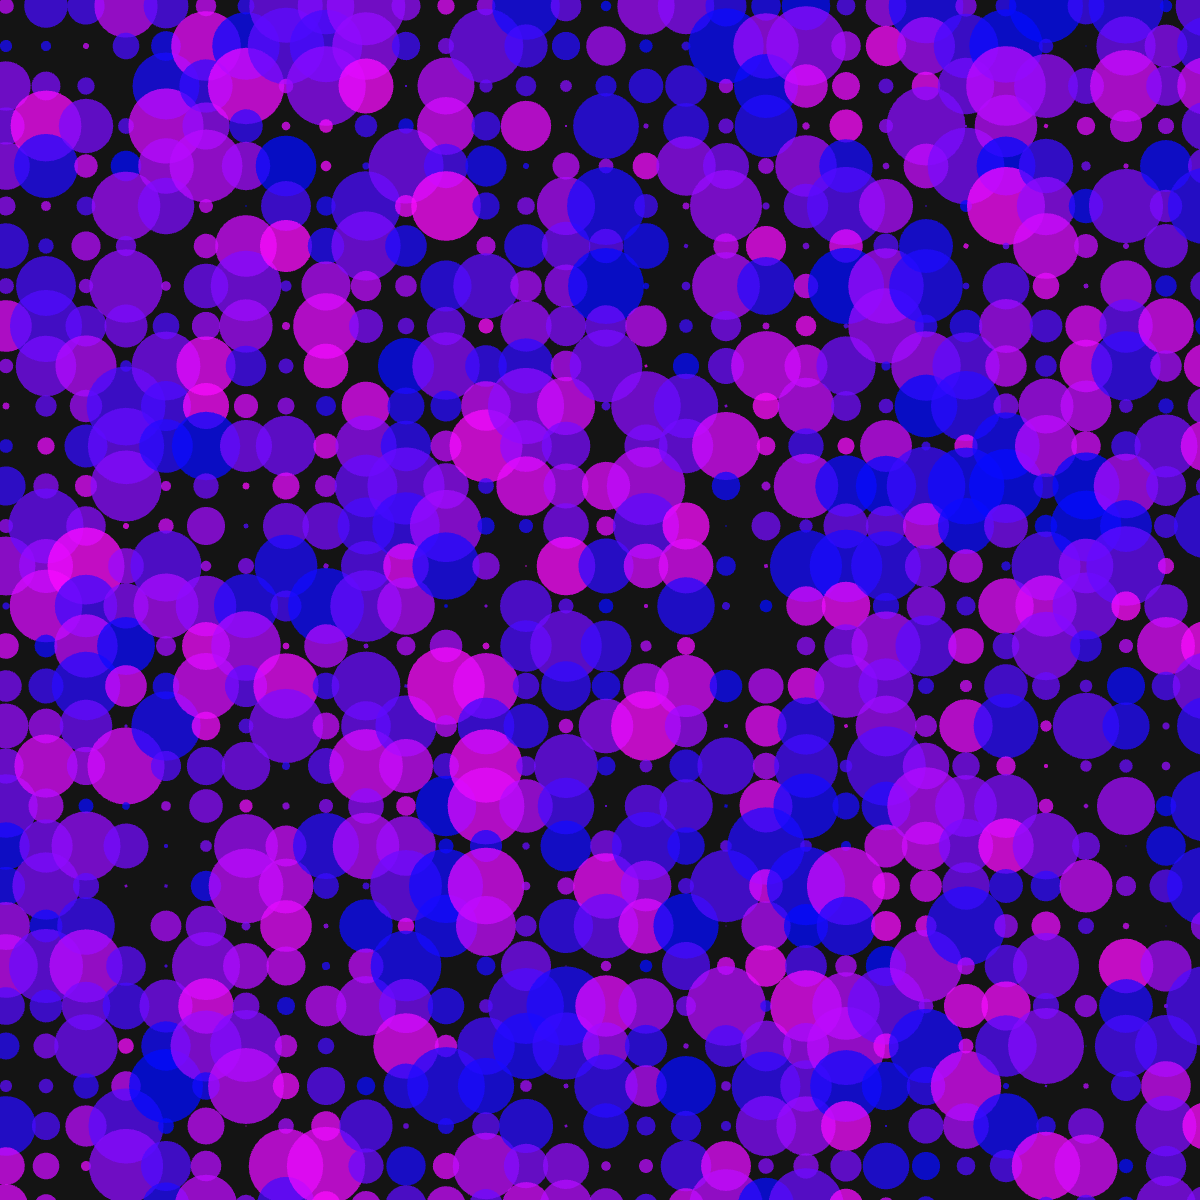
I achieved different nuances by playig around with the colour values, as well as with the distance between the circles. This time 'round, I was satisfied with the results I achieved so I left it as is (for now).
This was a great little exercise for me to dig into p5js and produce something I am content with. There's a deep sense of satisfaction in creating something beautiful, and even more so when you can understand the logic behind it.
'Till next time!